• You're one step from joining 3D Printing Forum – Filament, Resin, DIY 3D Printers & Troubleshooting.
    Create a free account to post, follow threads, and never miss an update.  Sign up free →

Post-Processing Setup

ep29030

Member
Joined
Sep 23, 2025
Messages
18
City & State/Province
Lebanon, IN USA
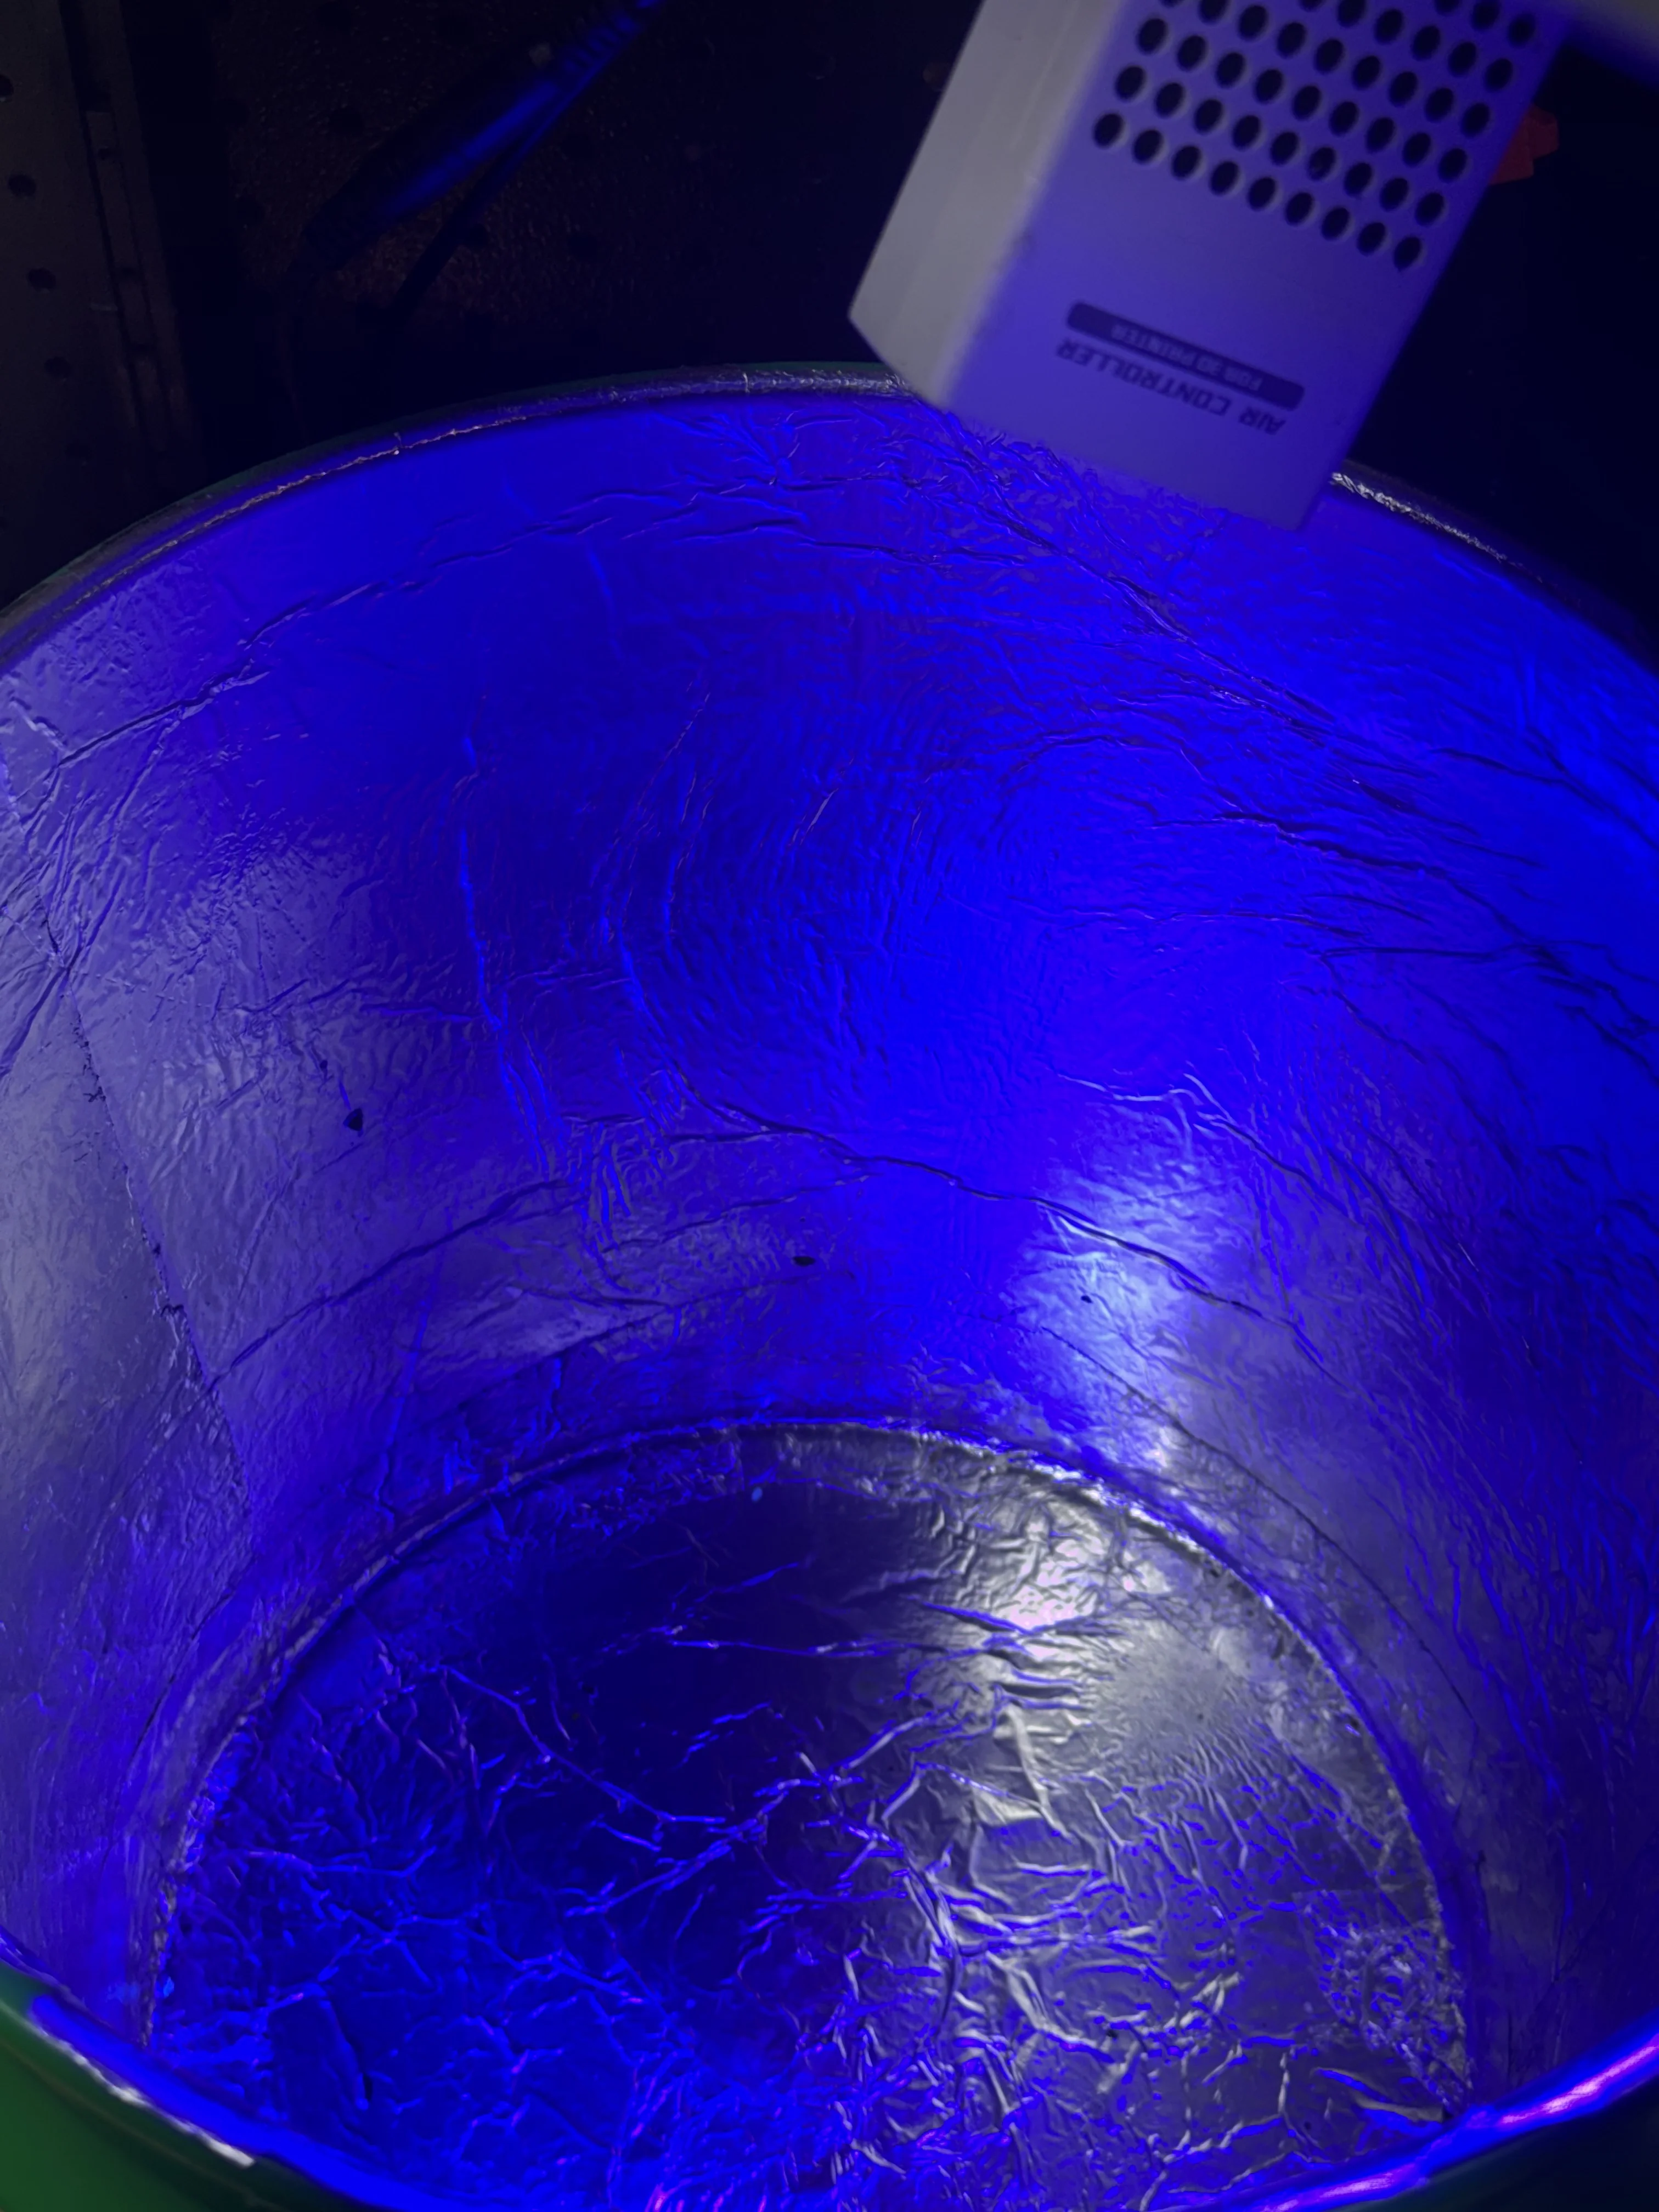
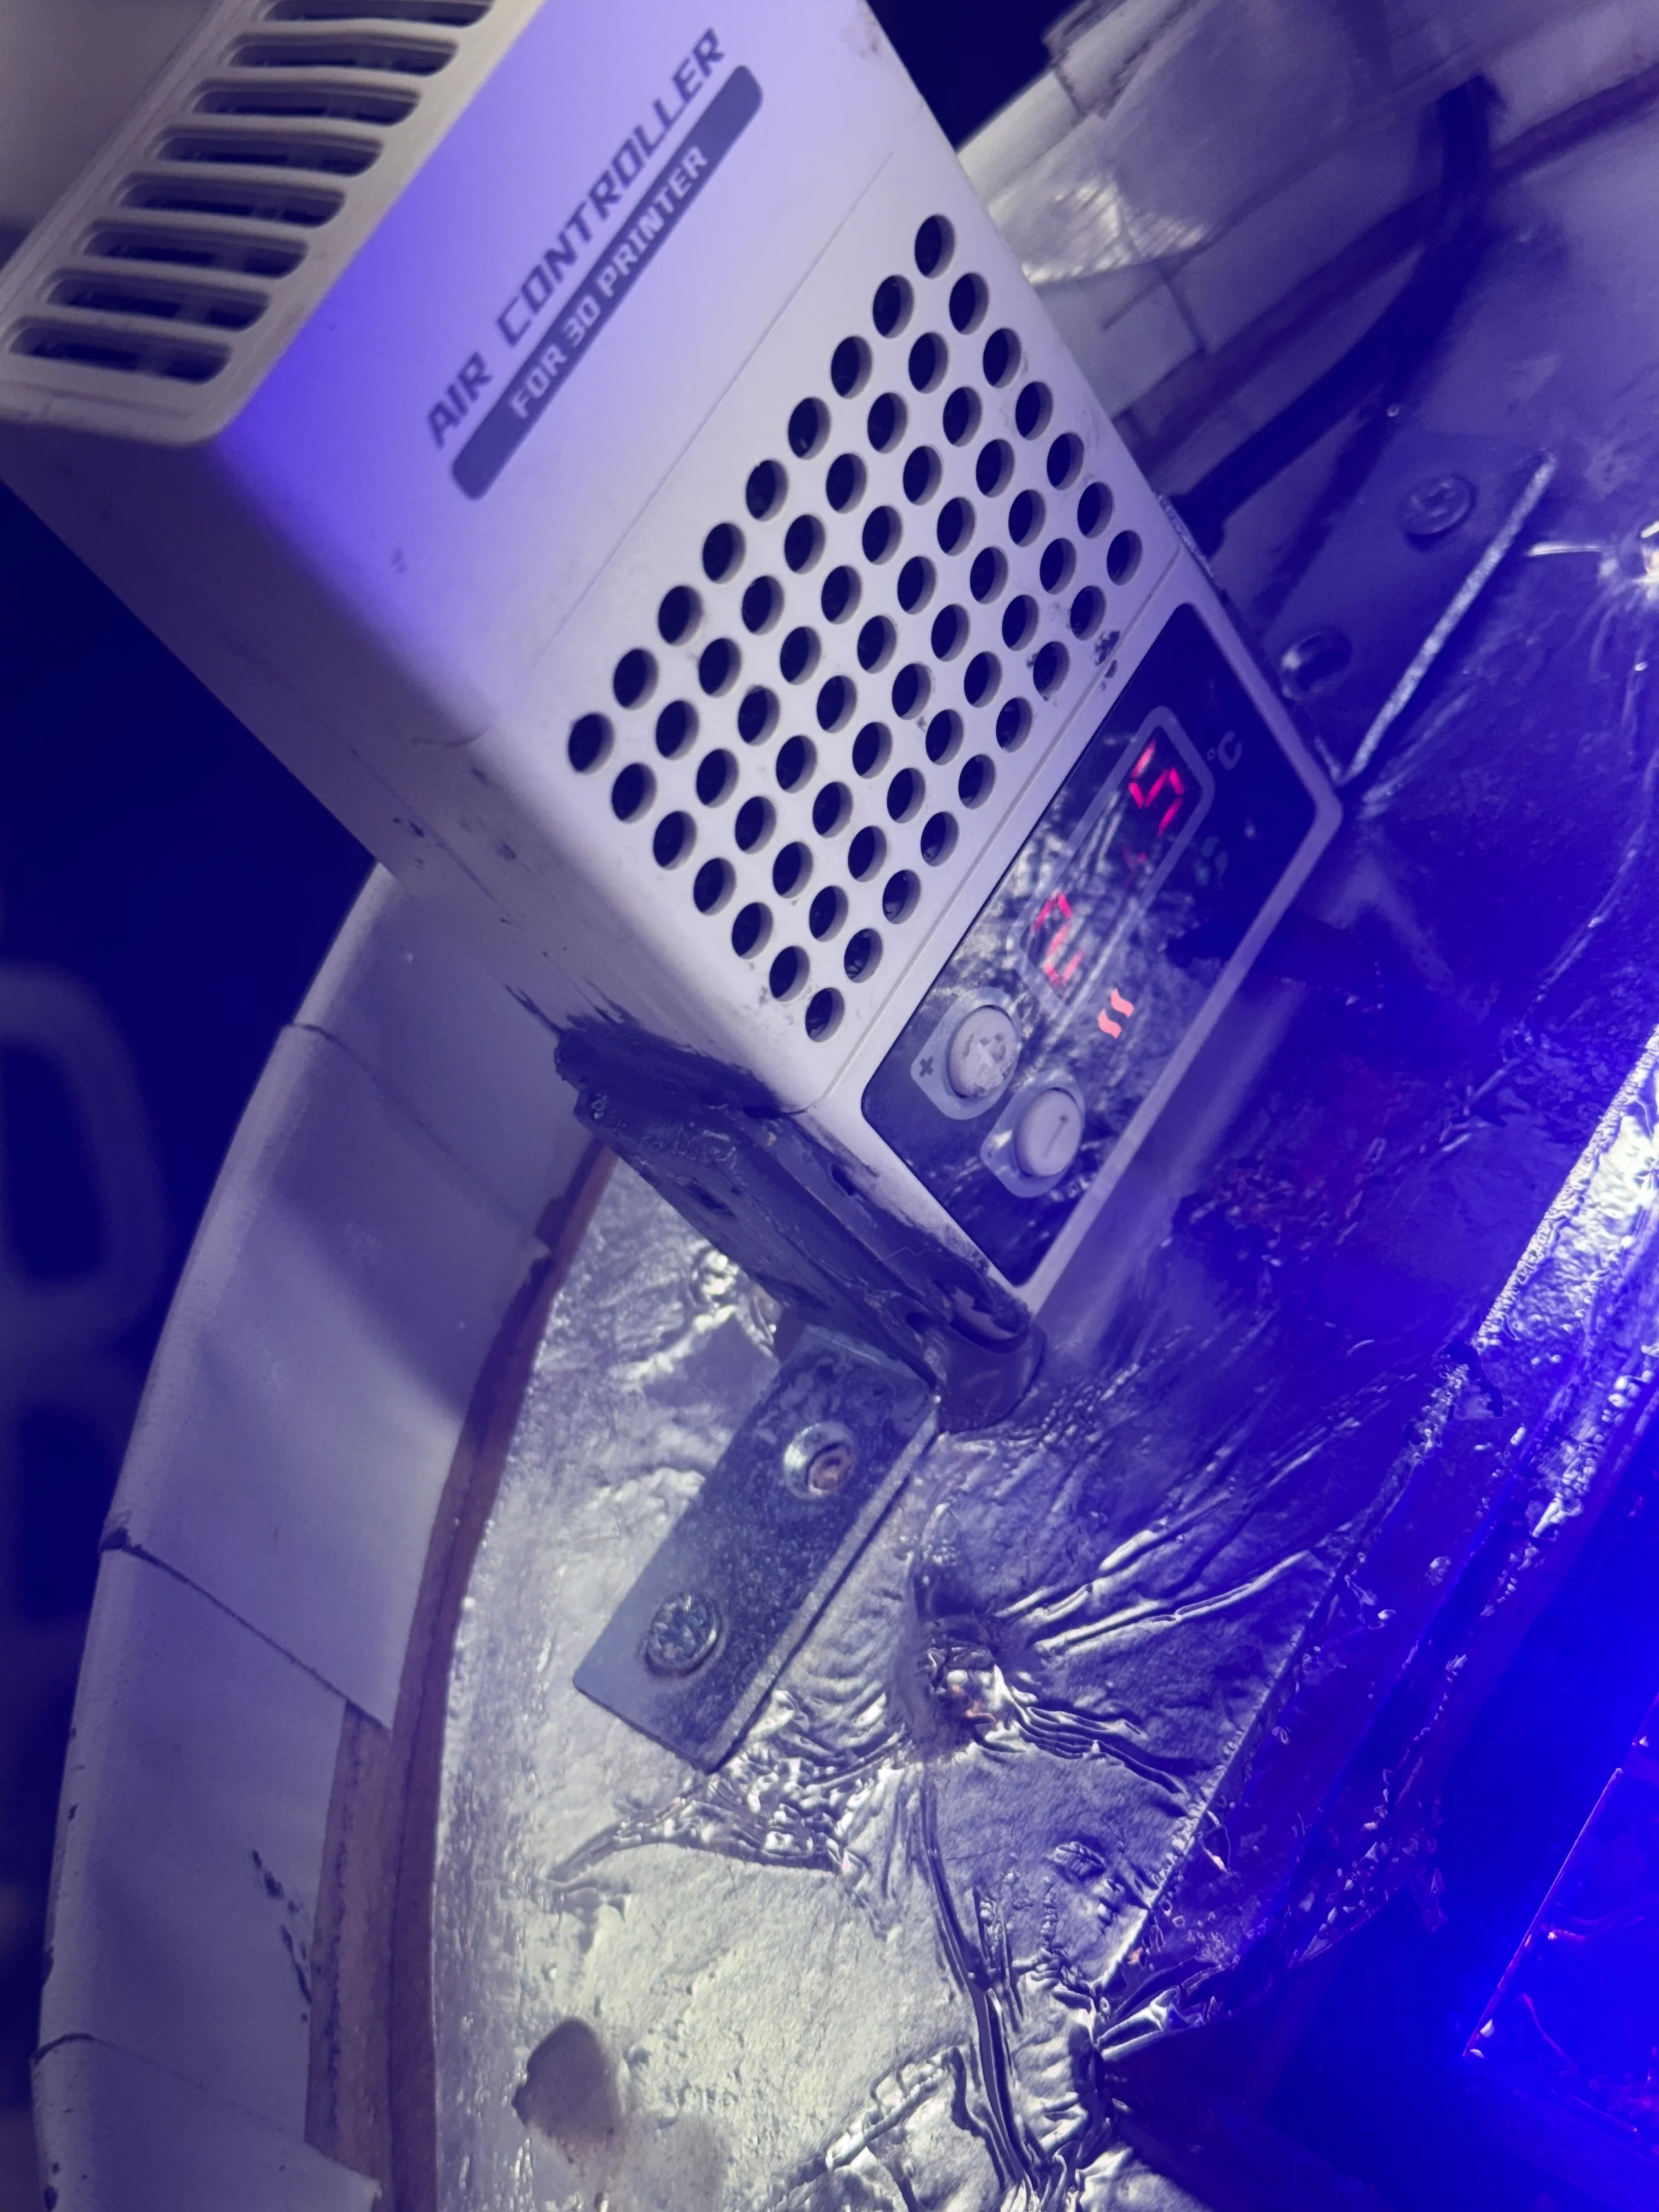
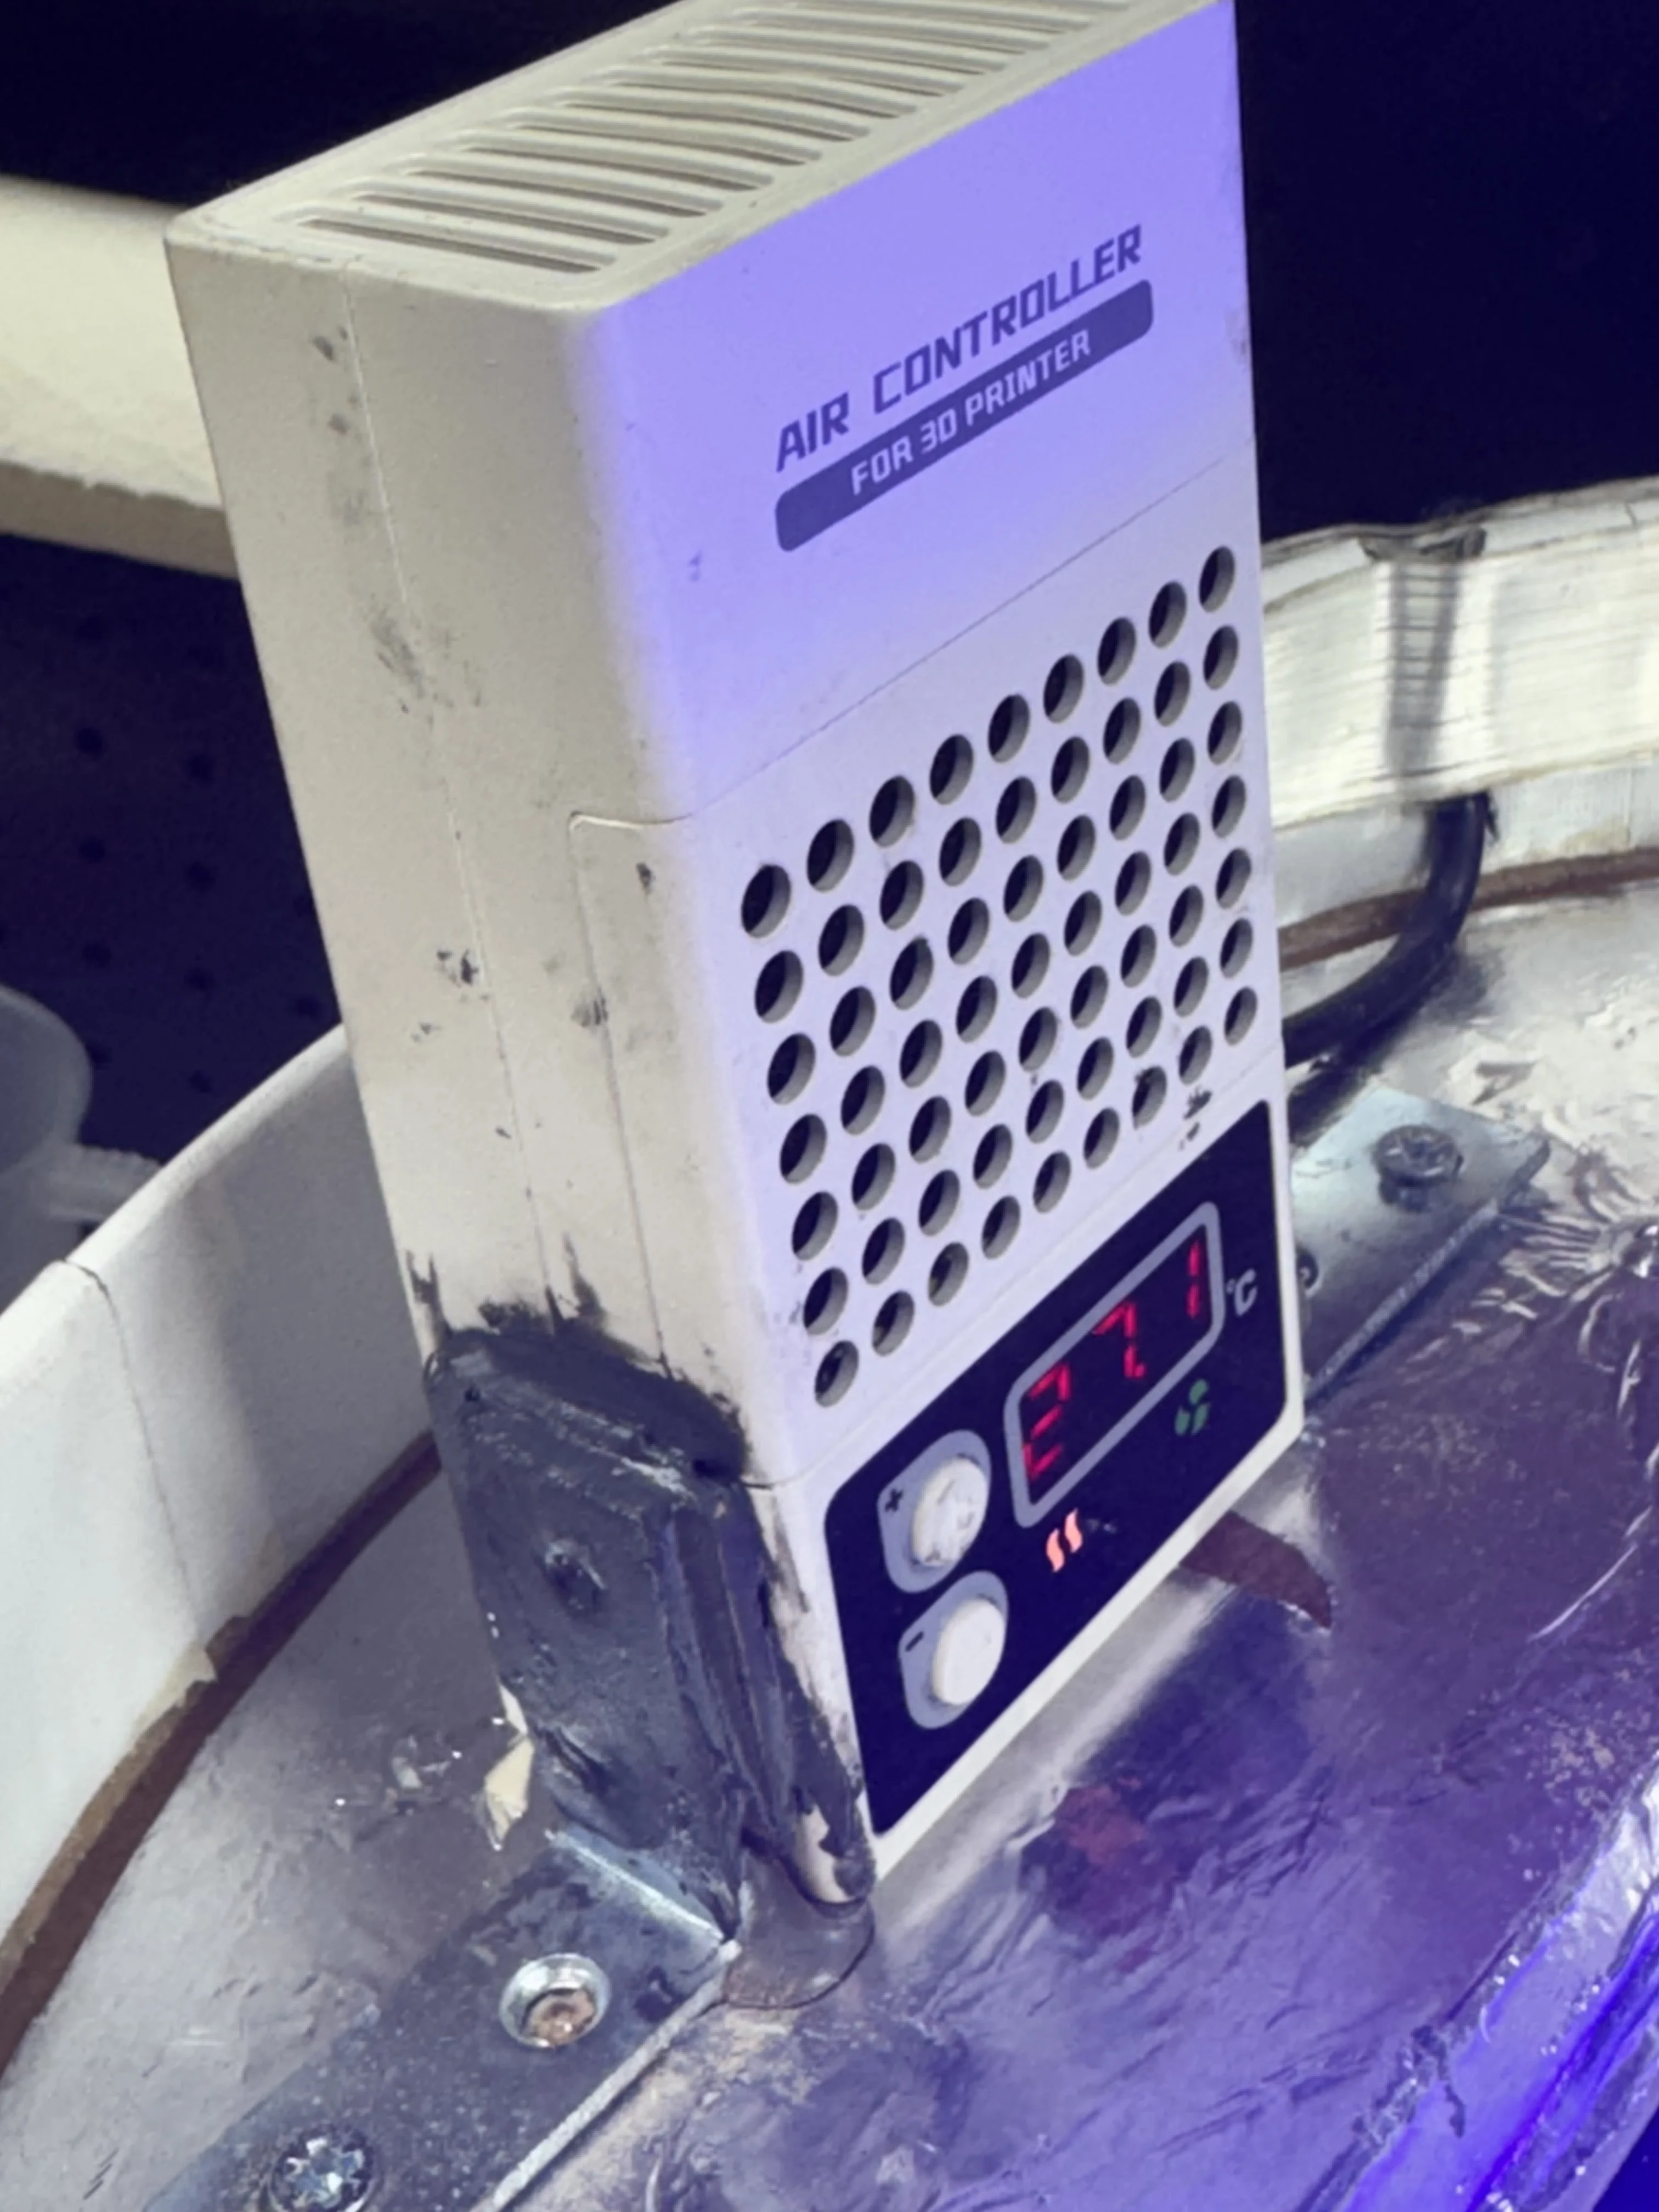
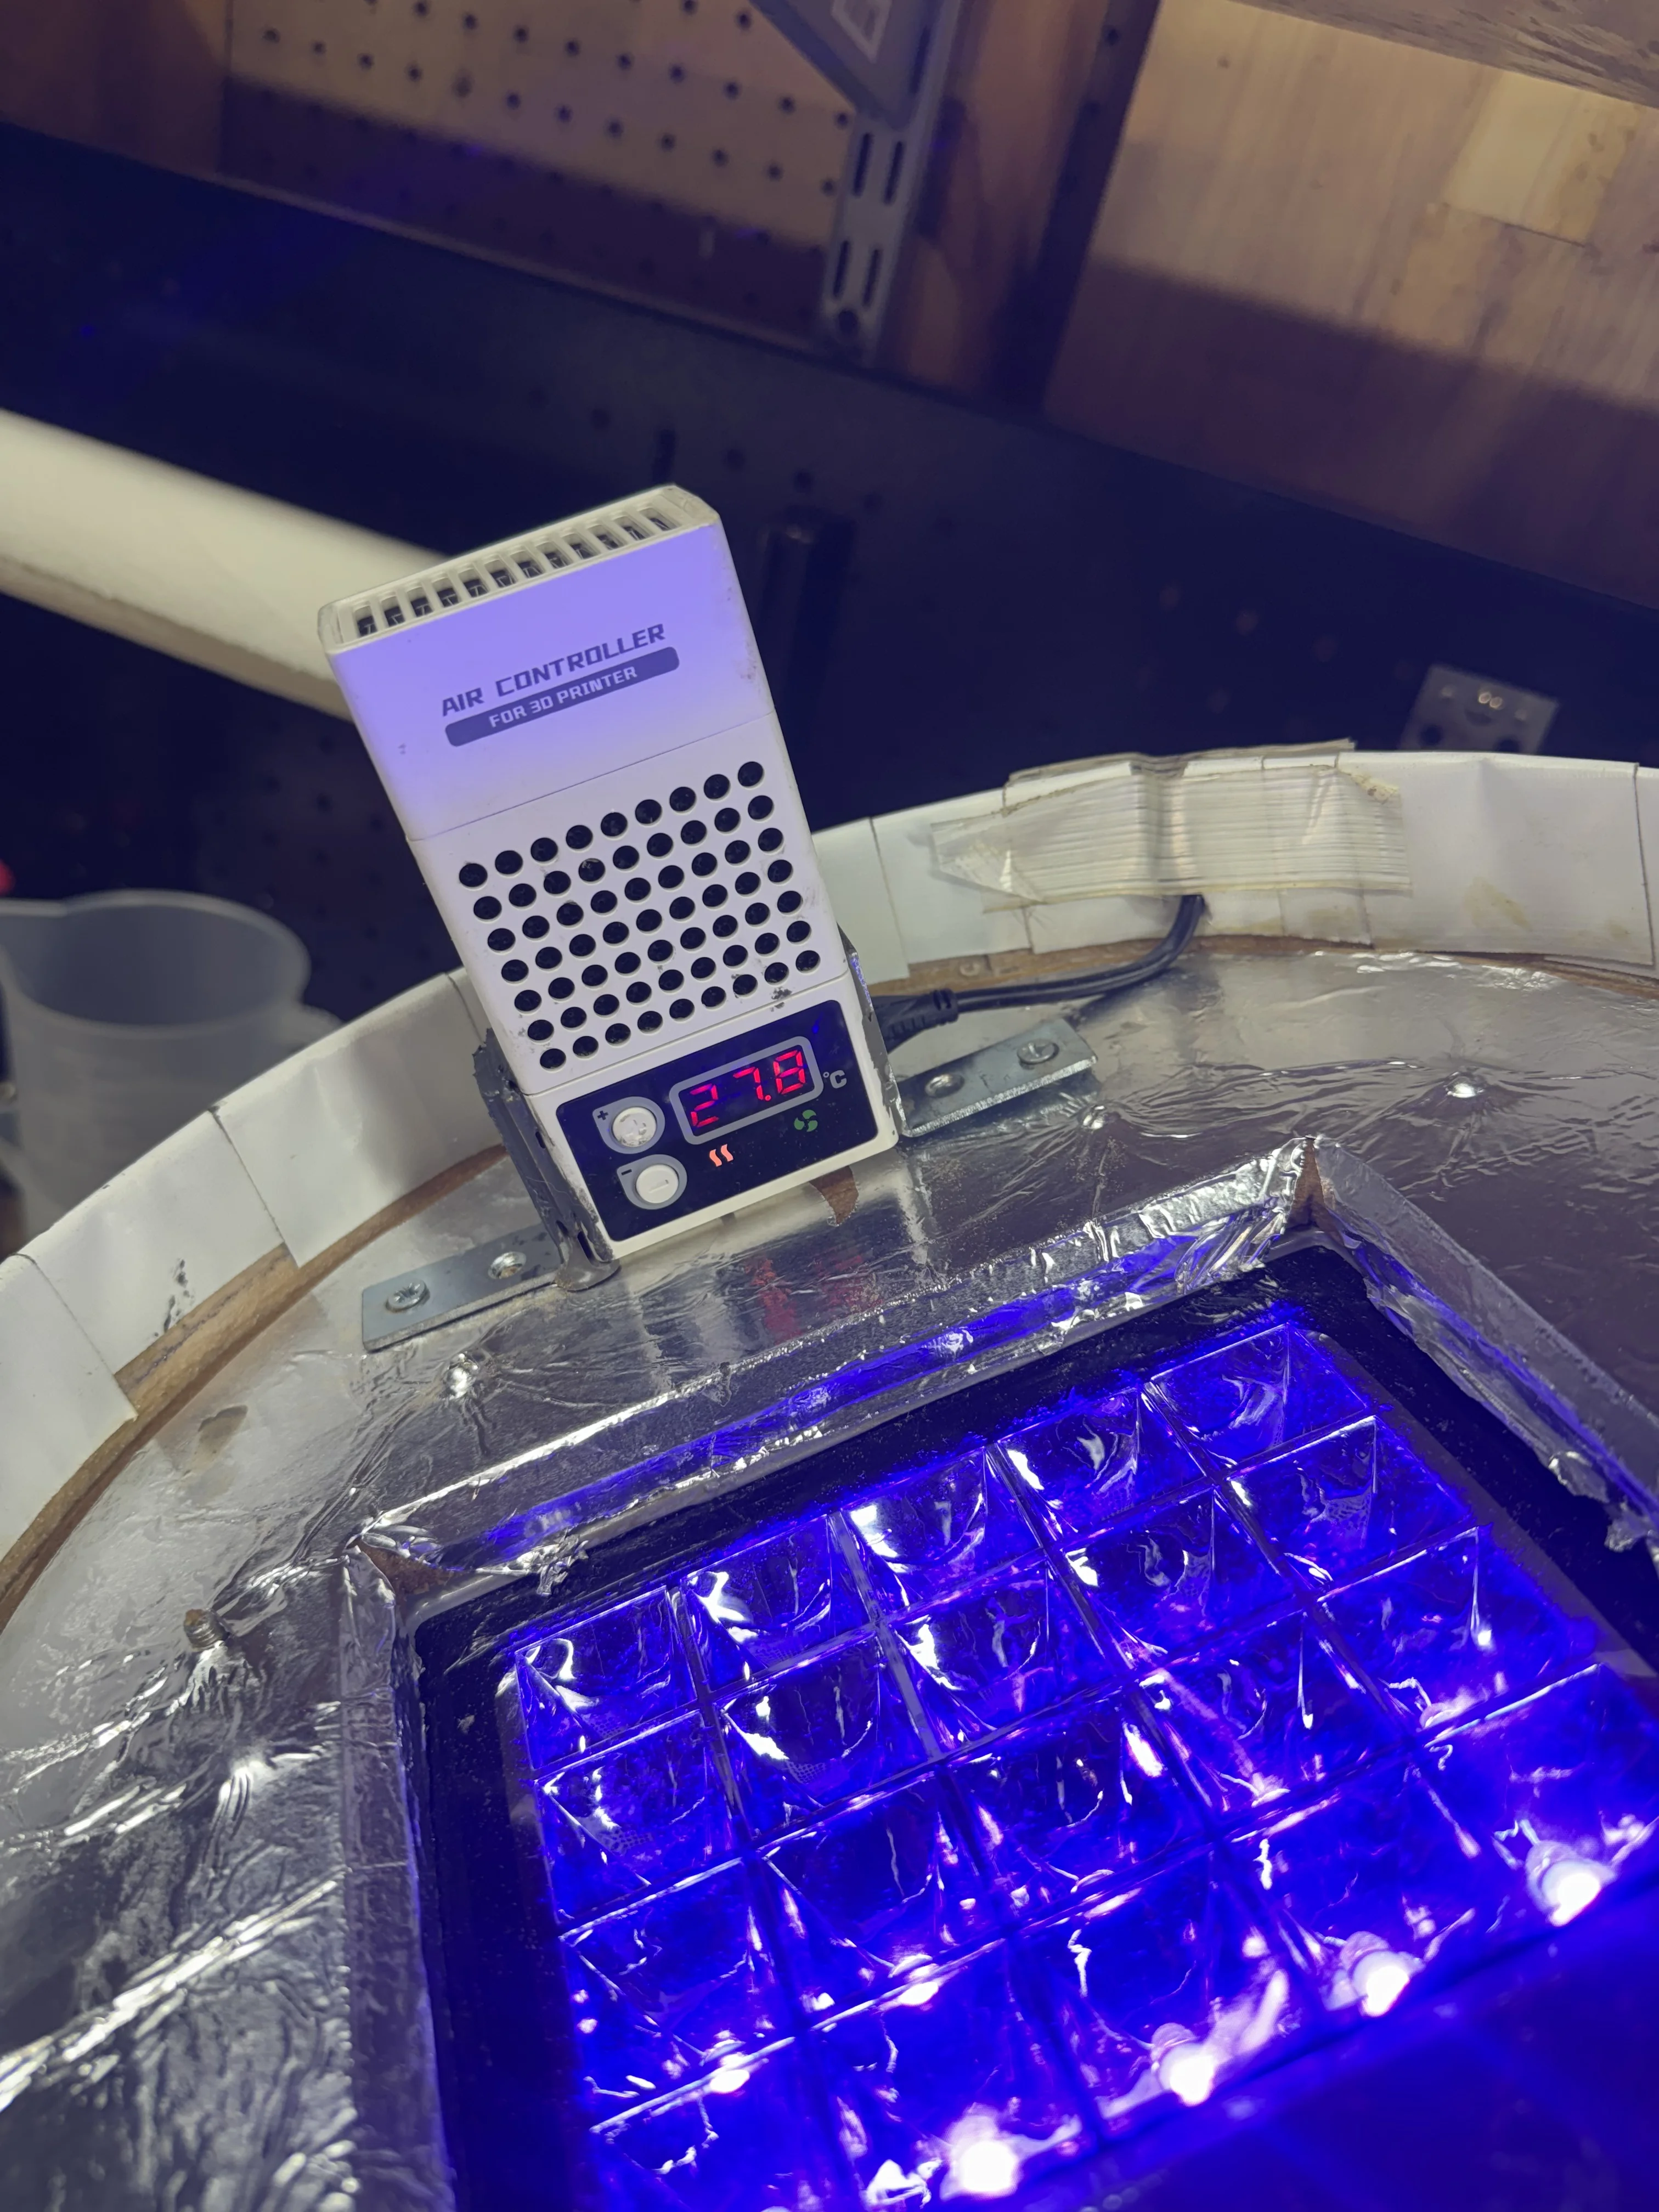
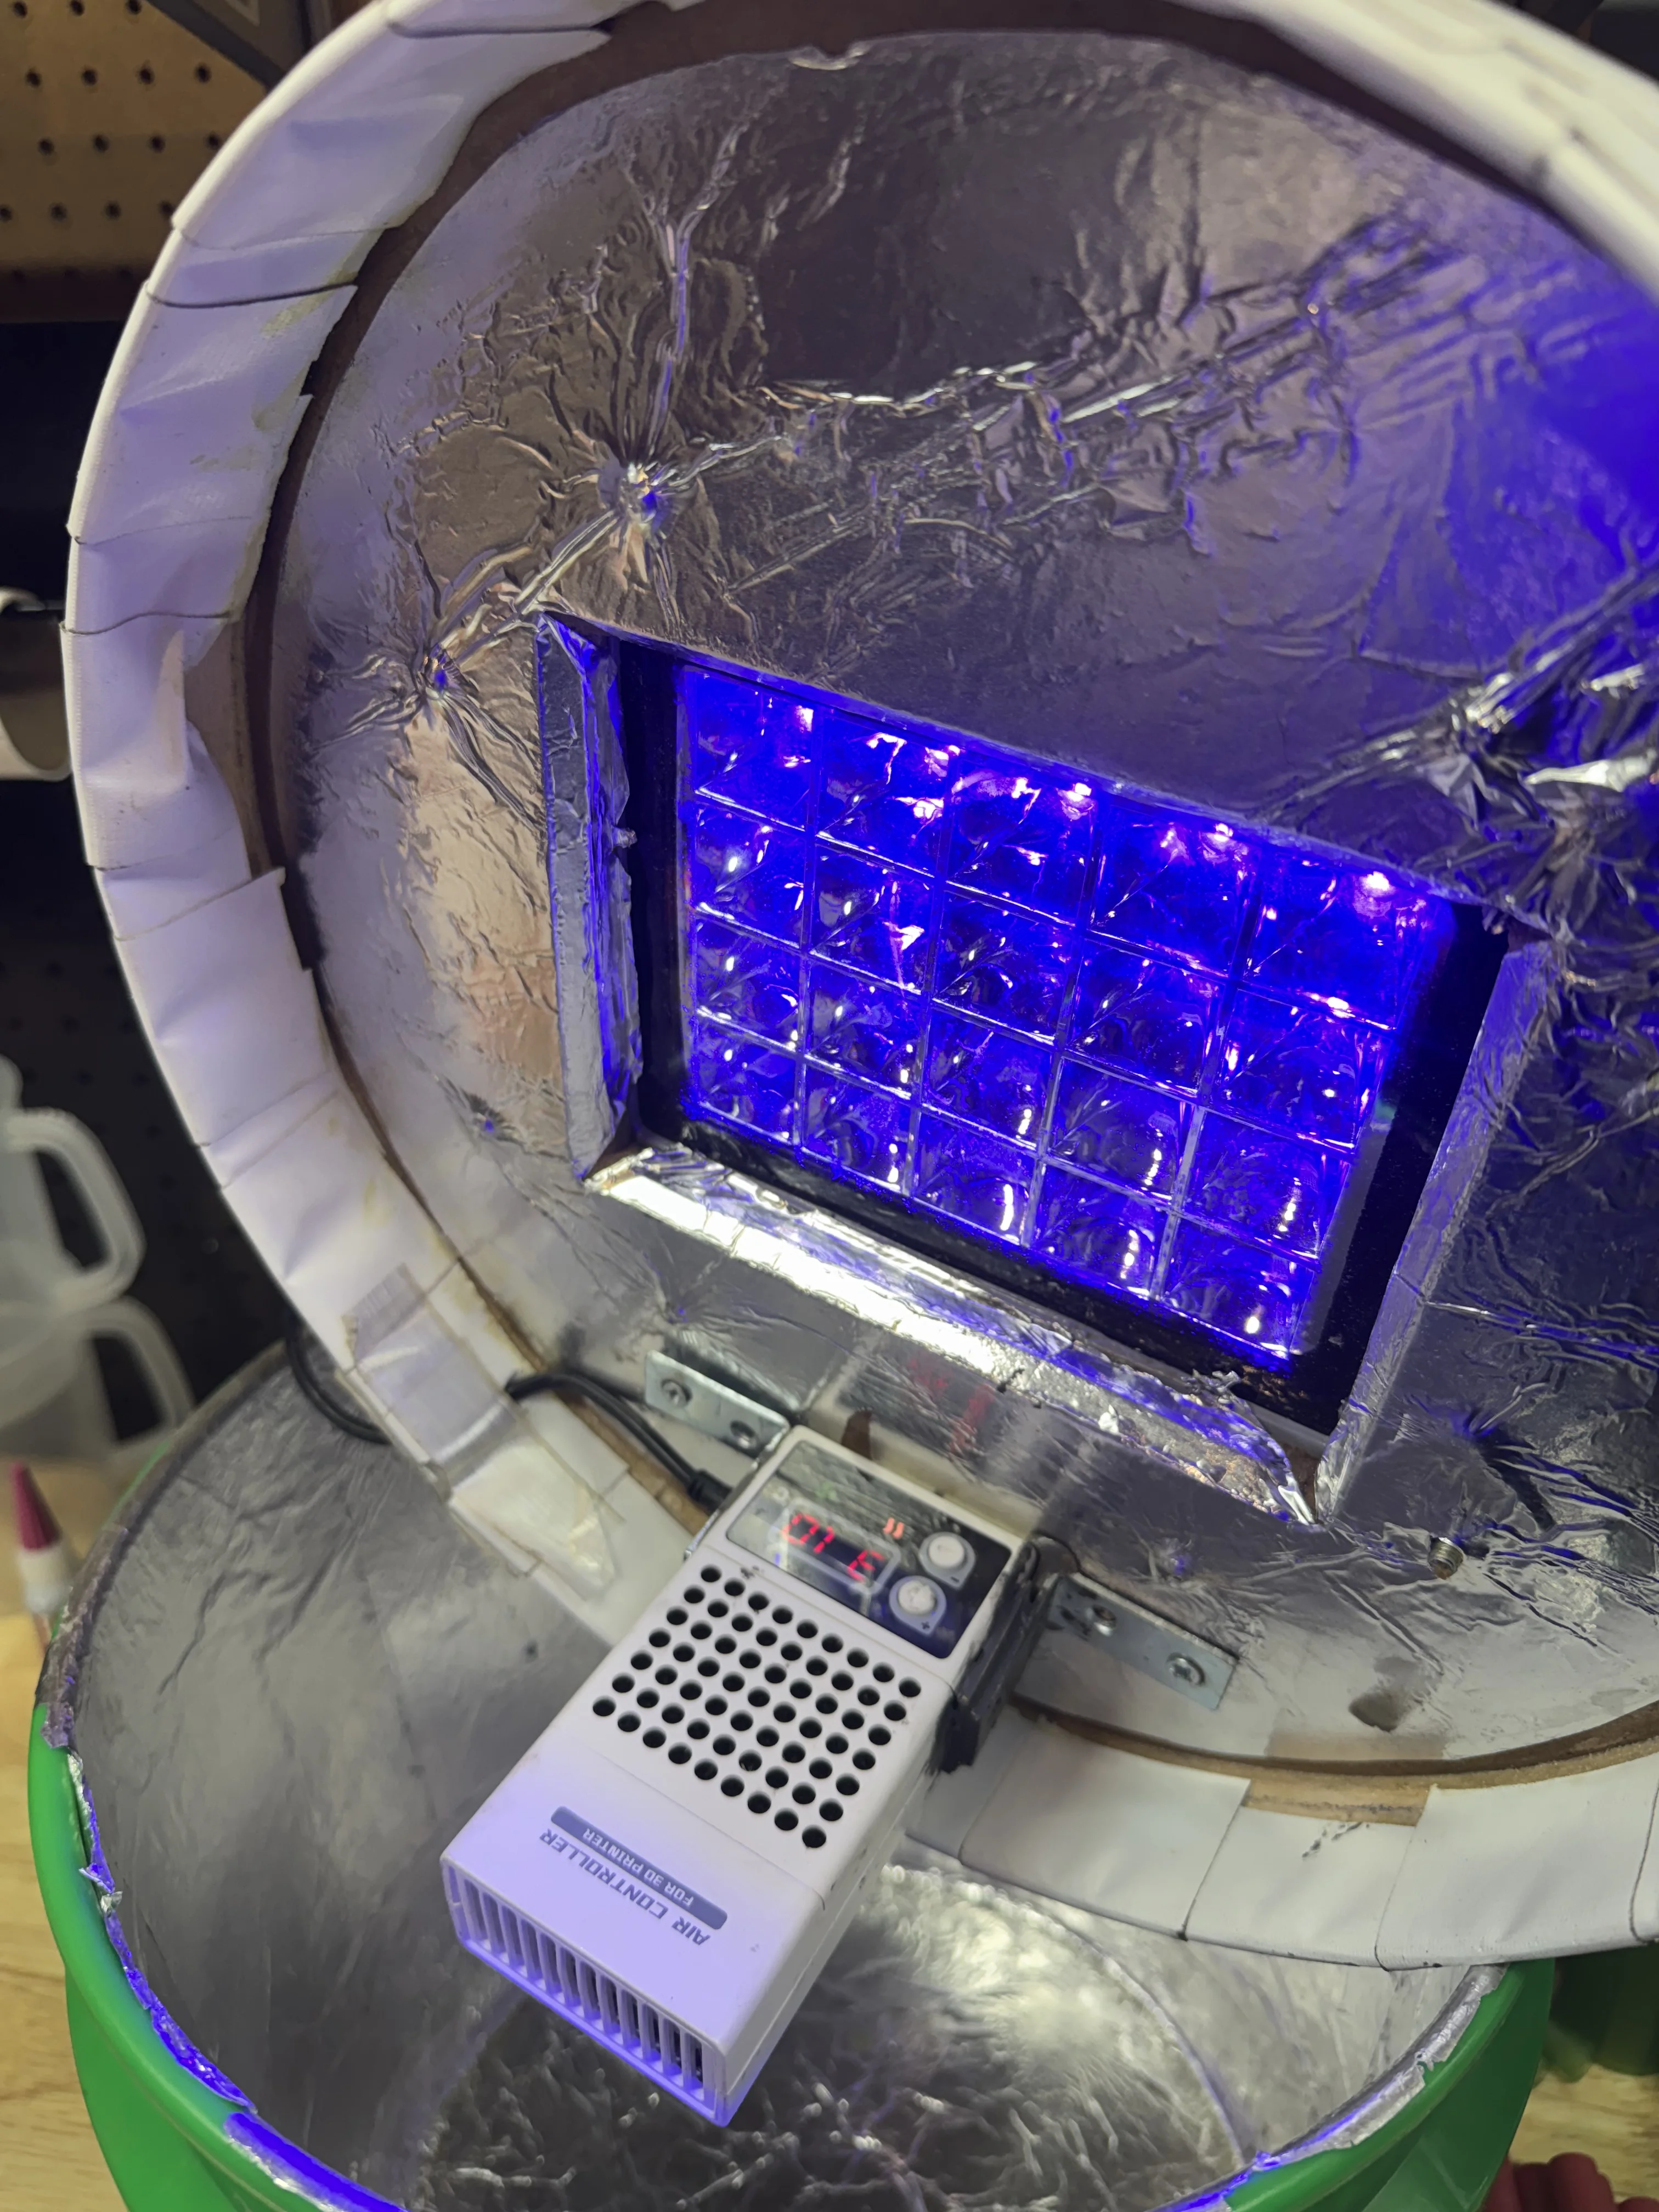
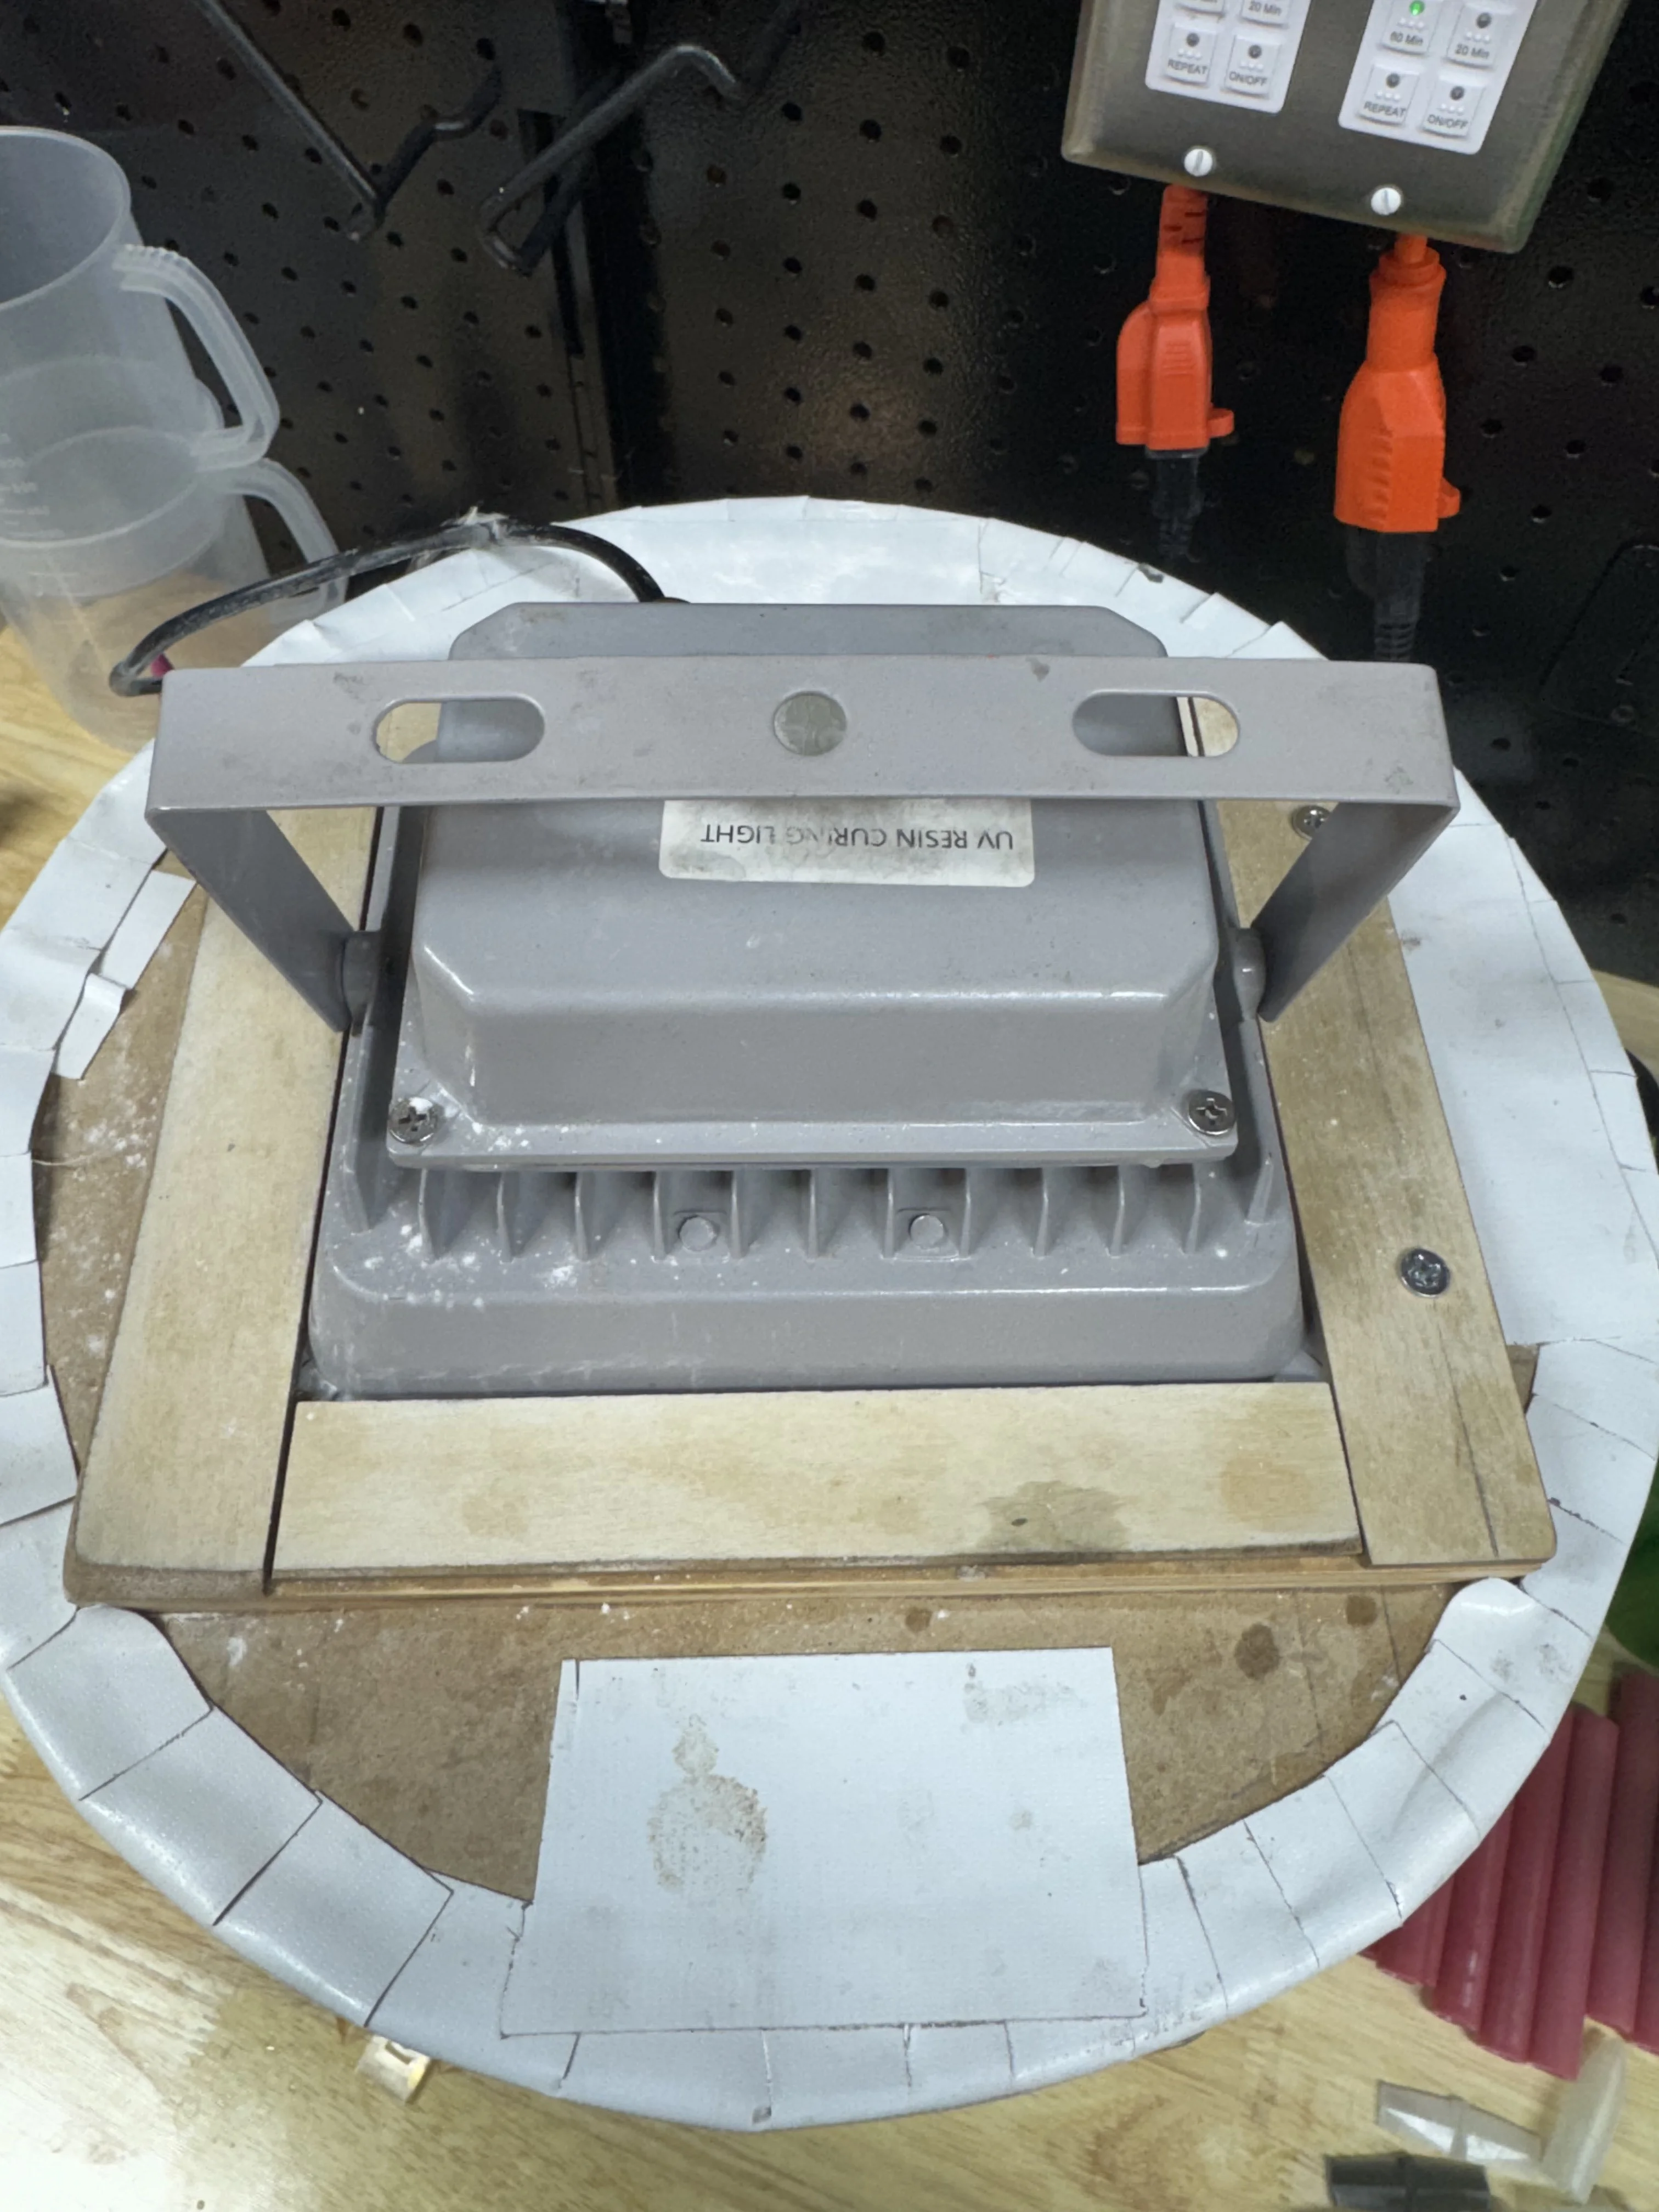
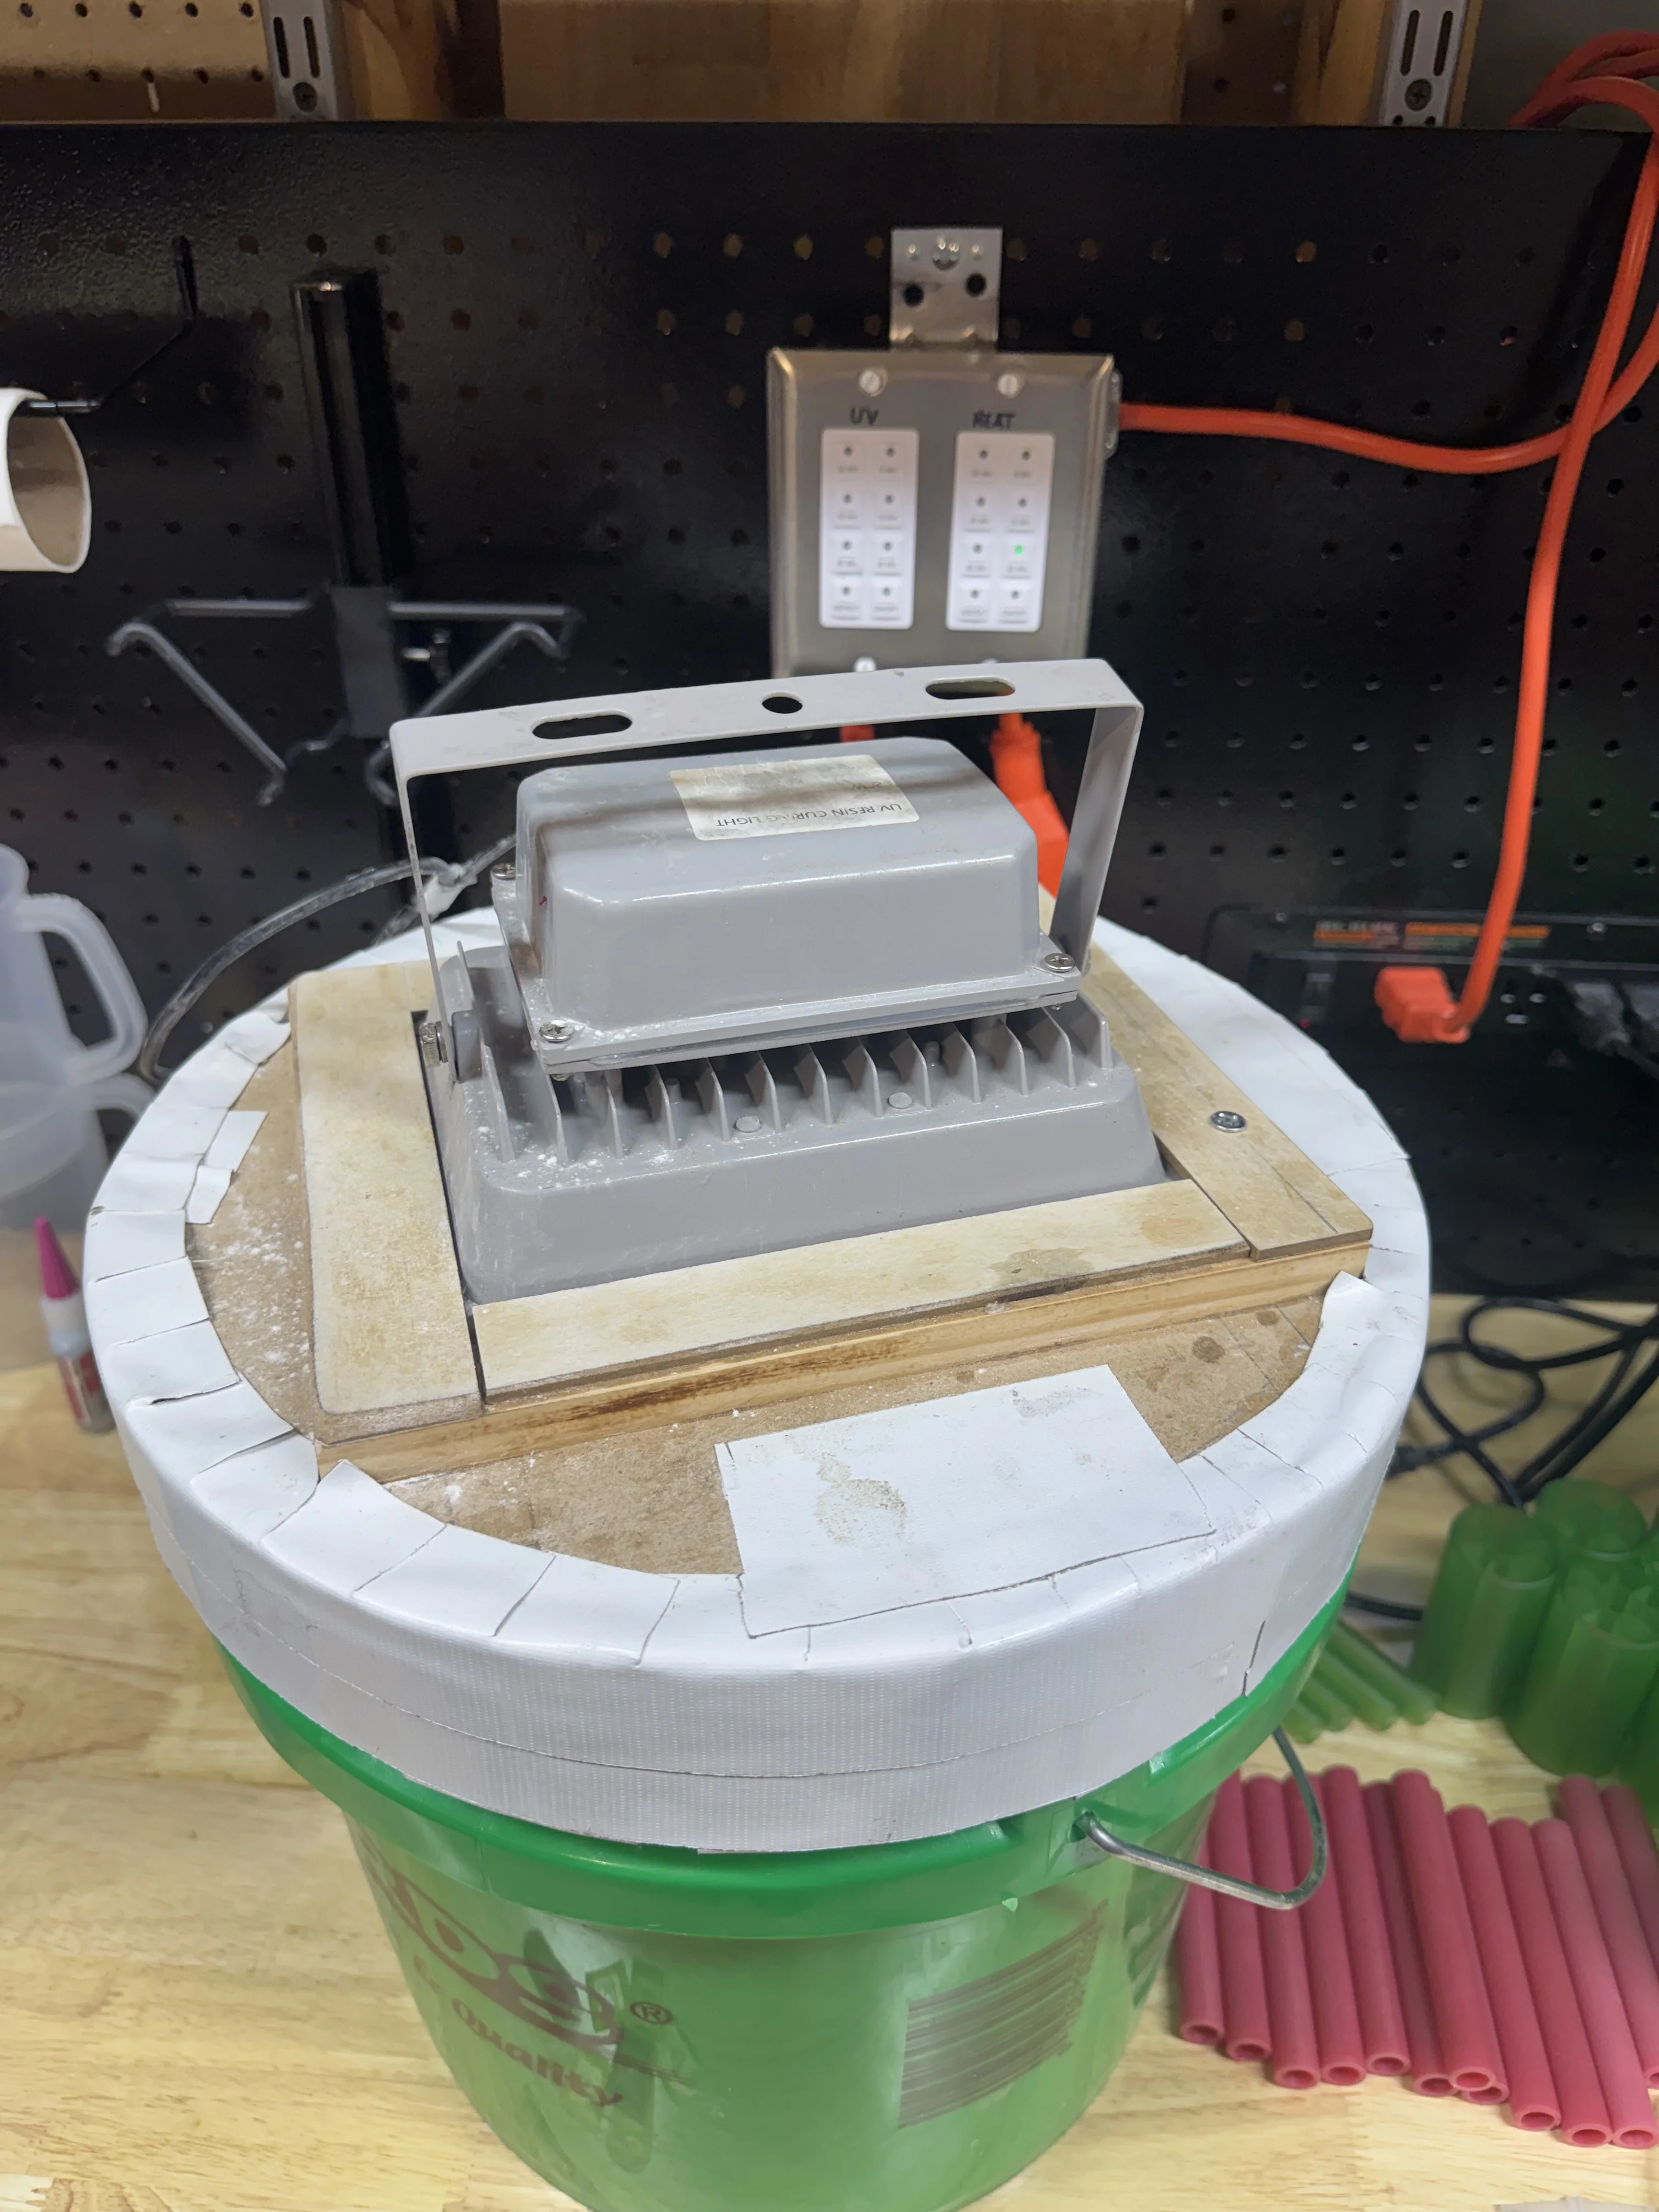
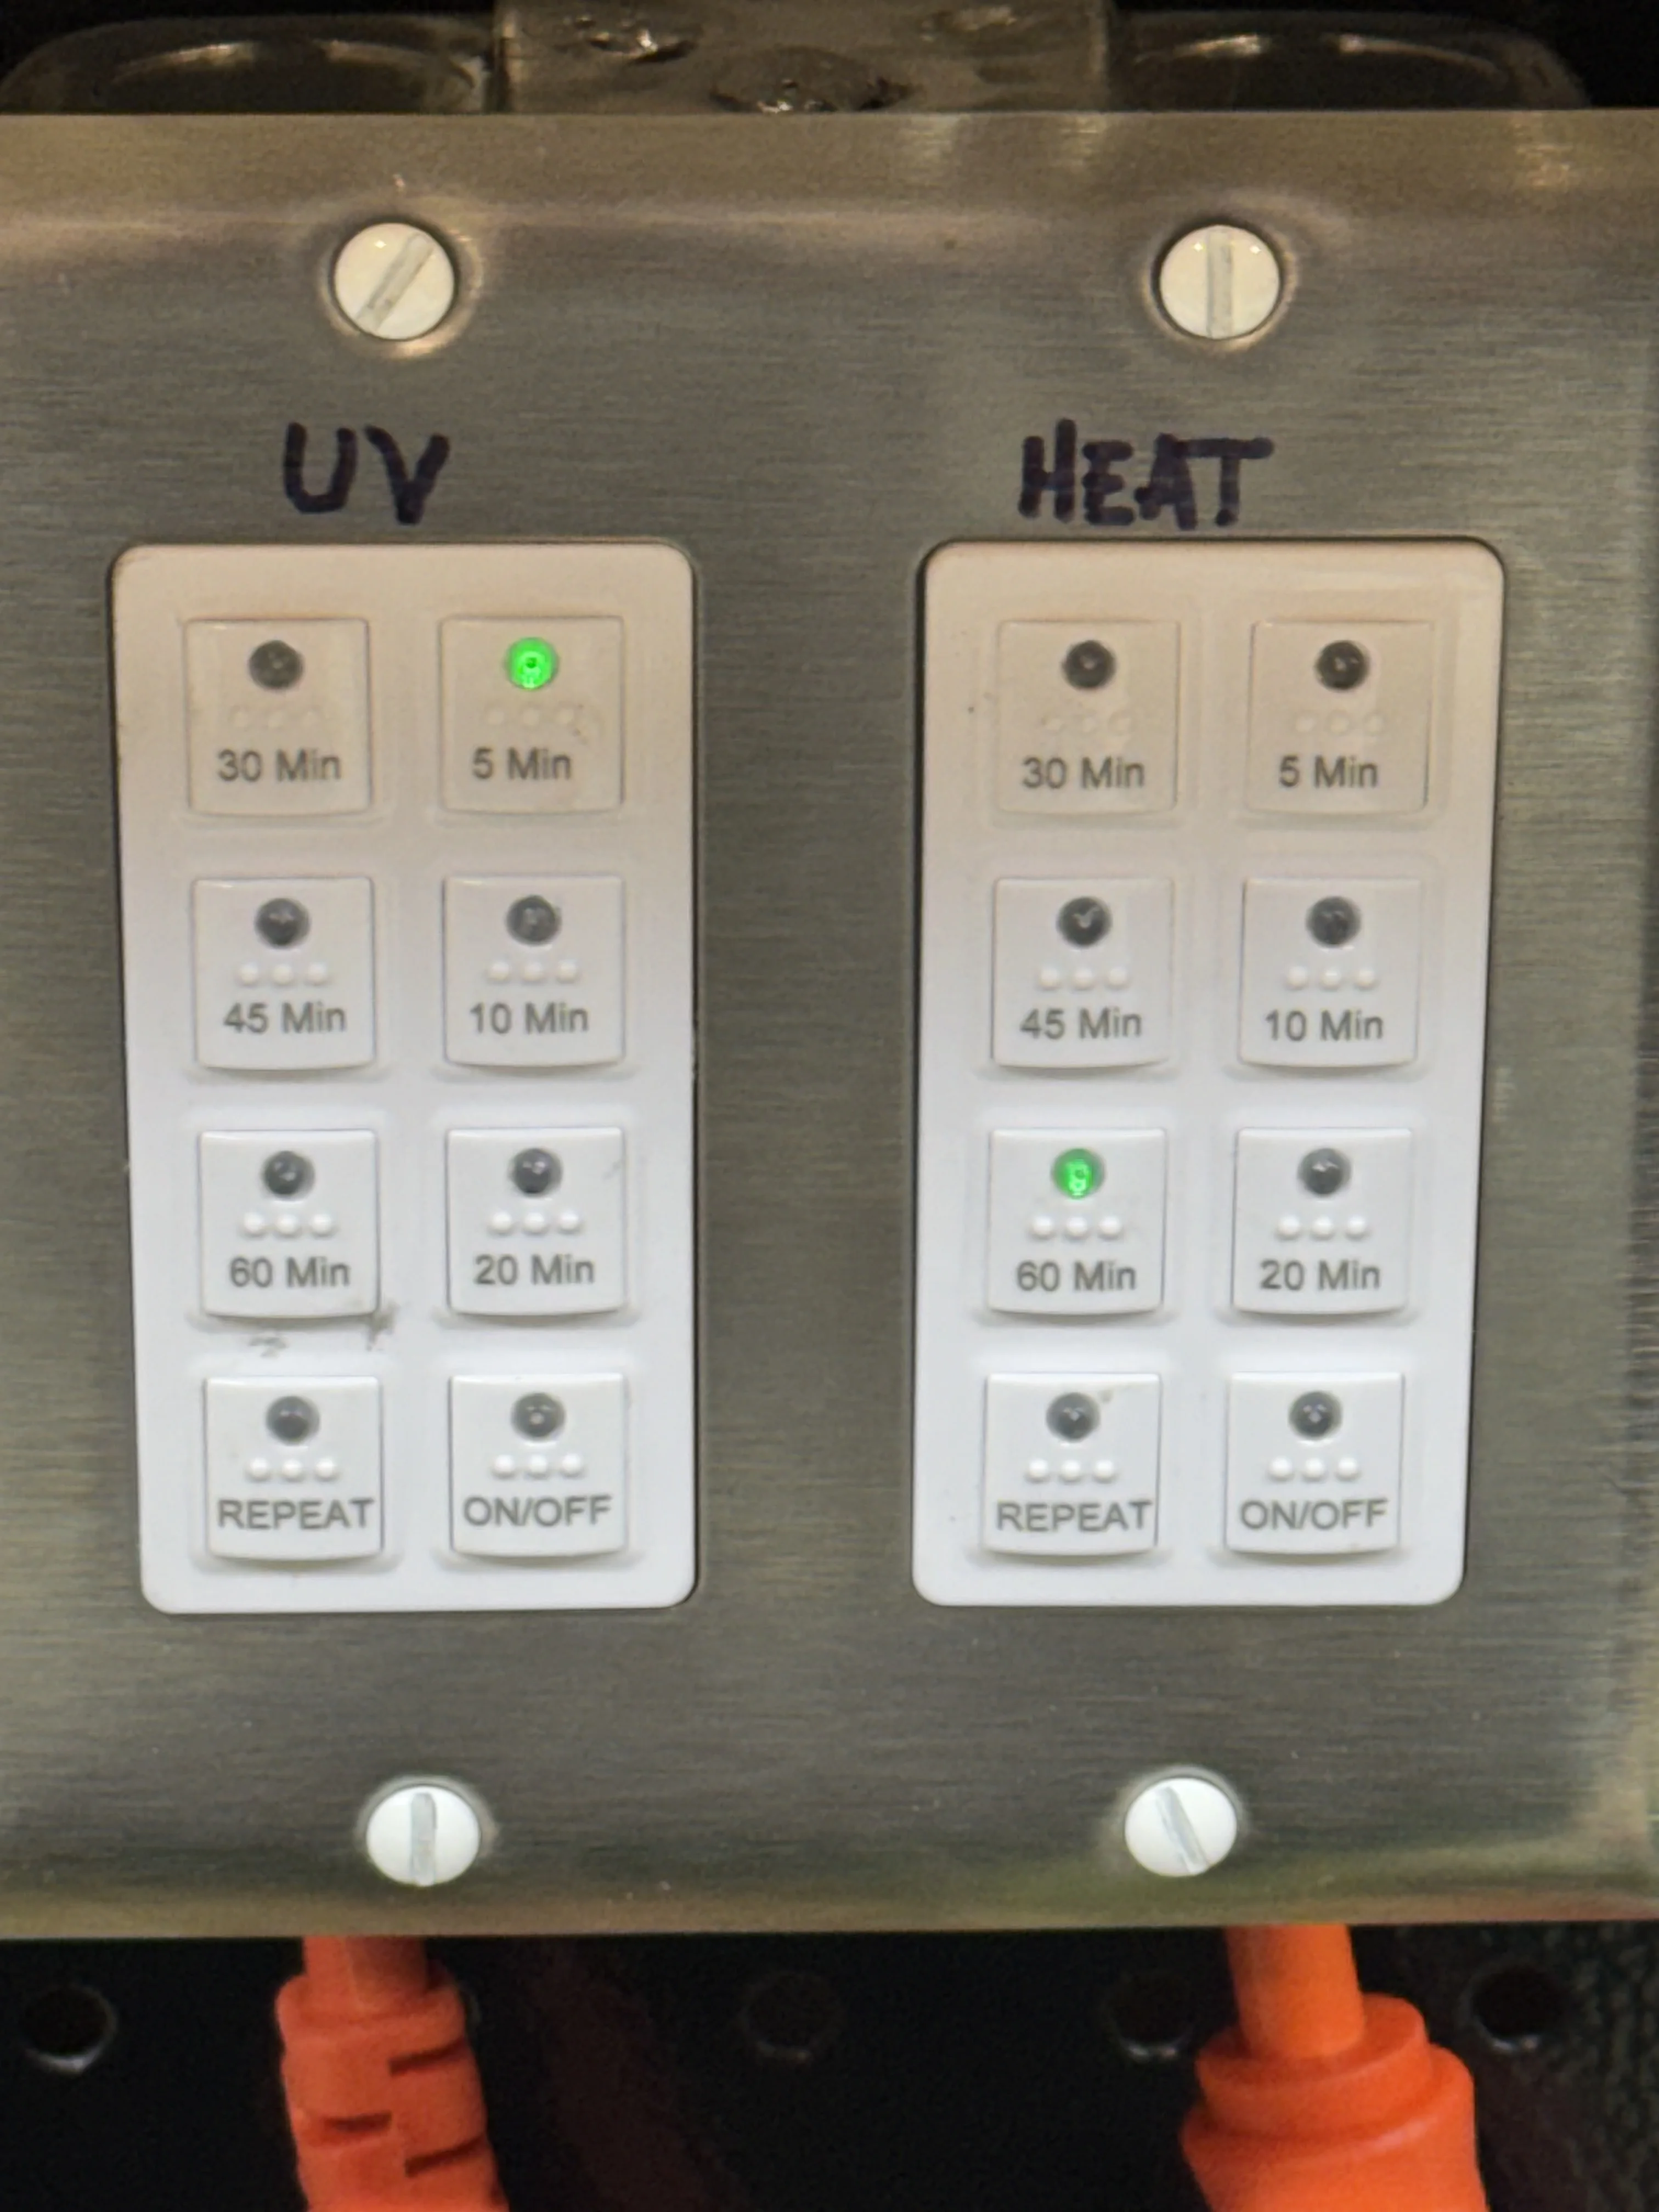
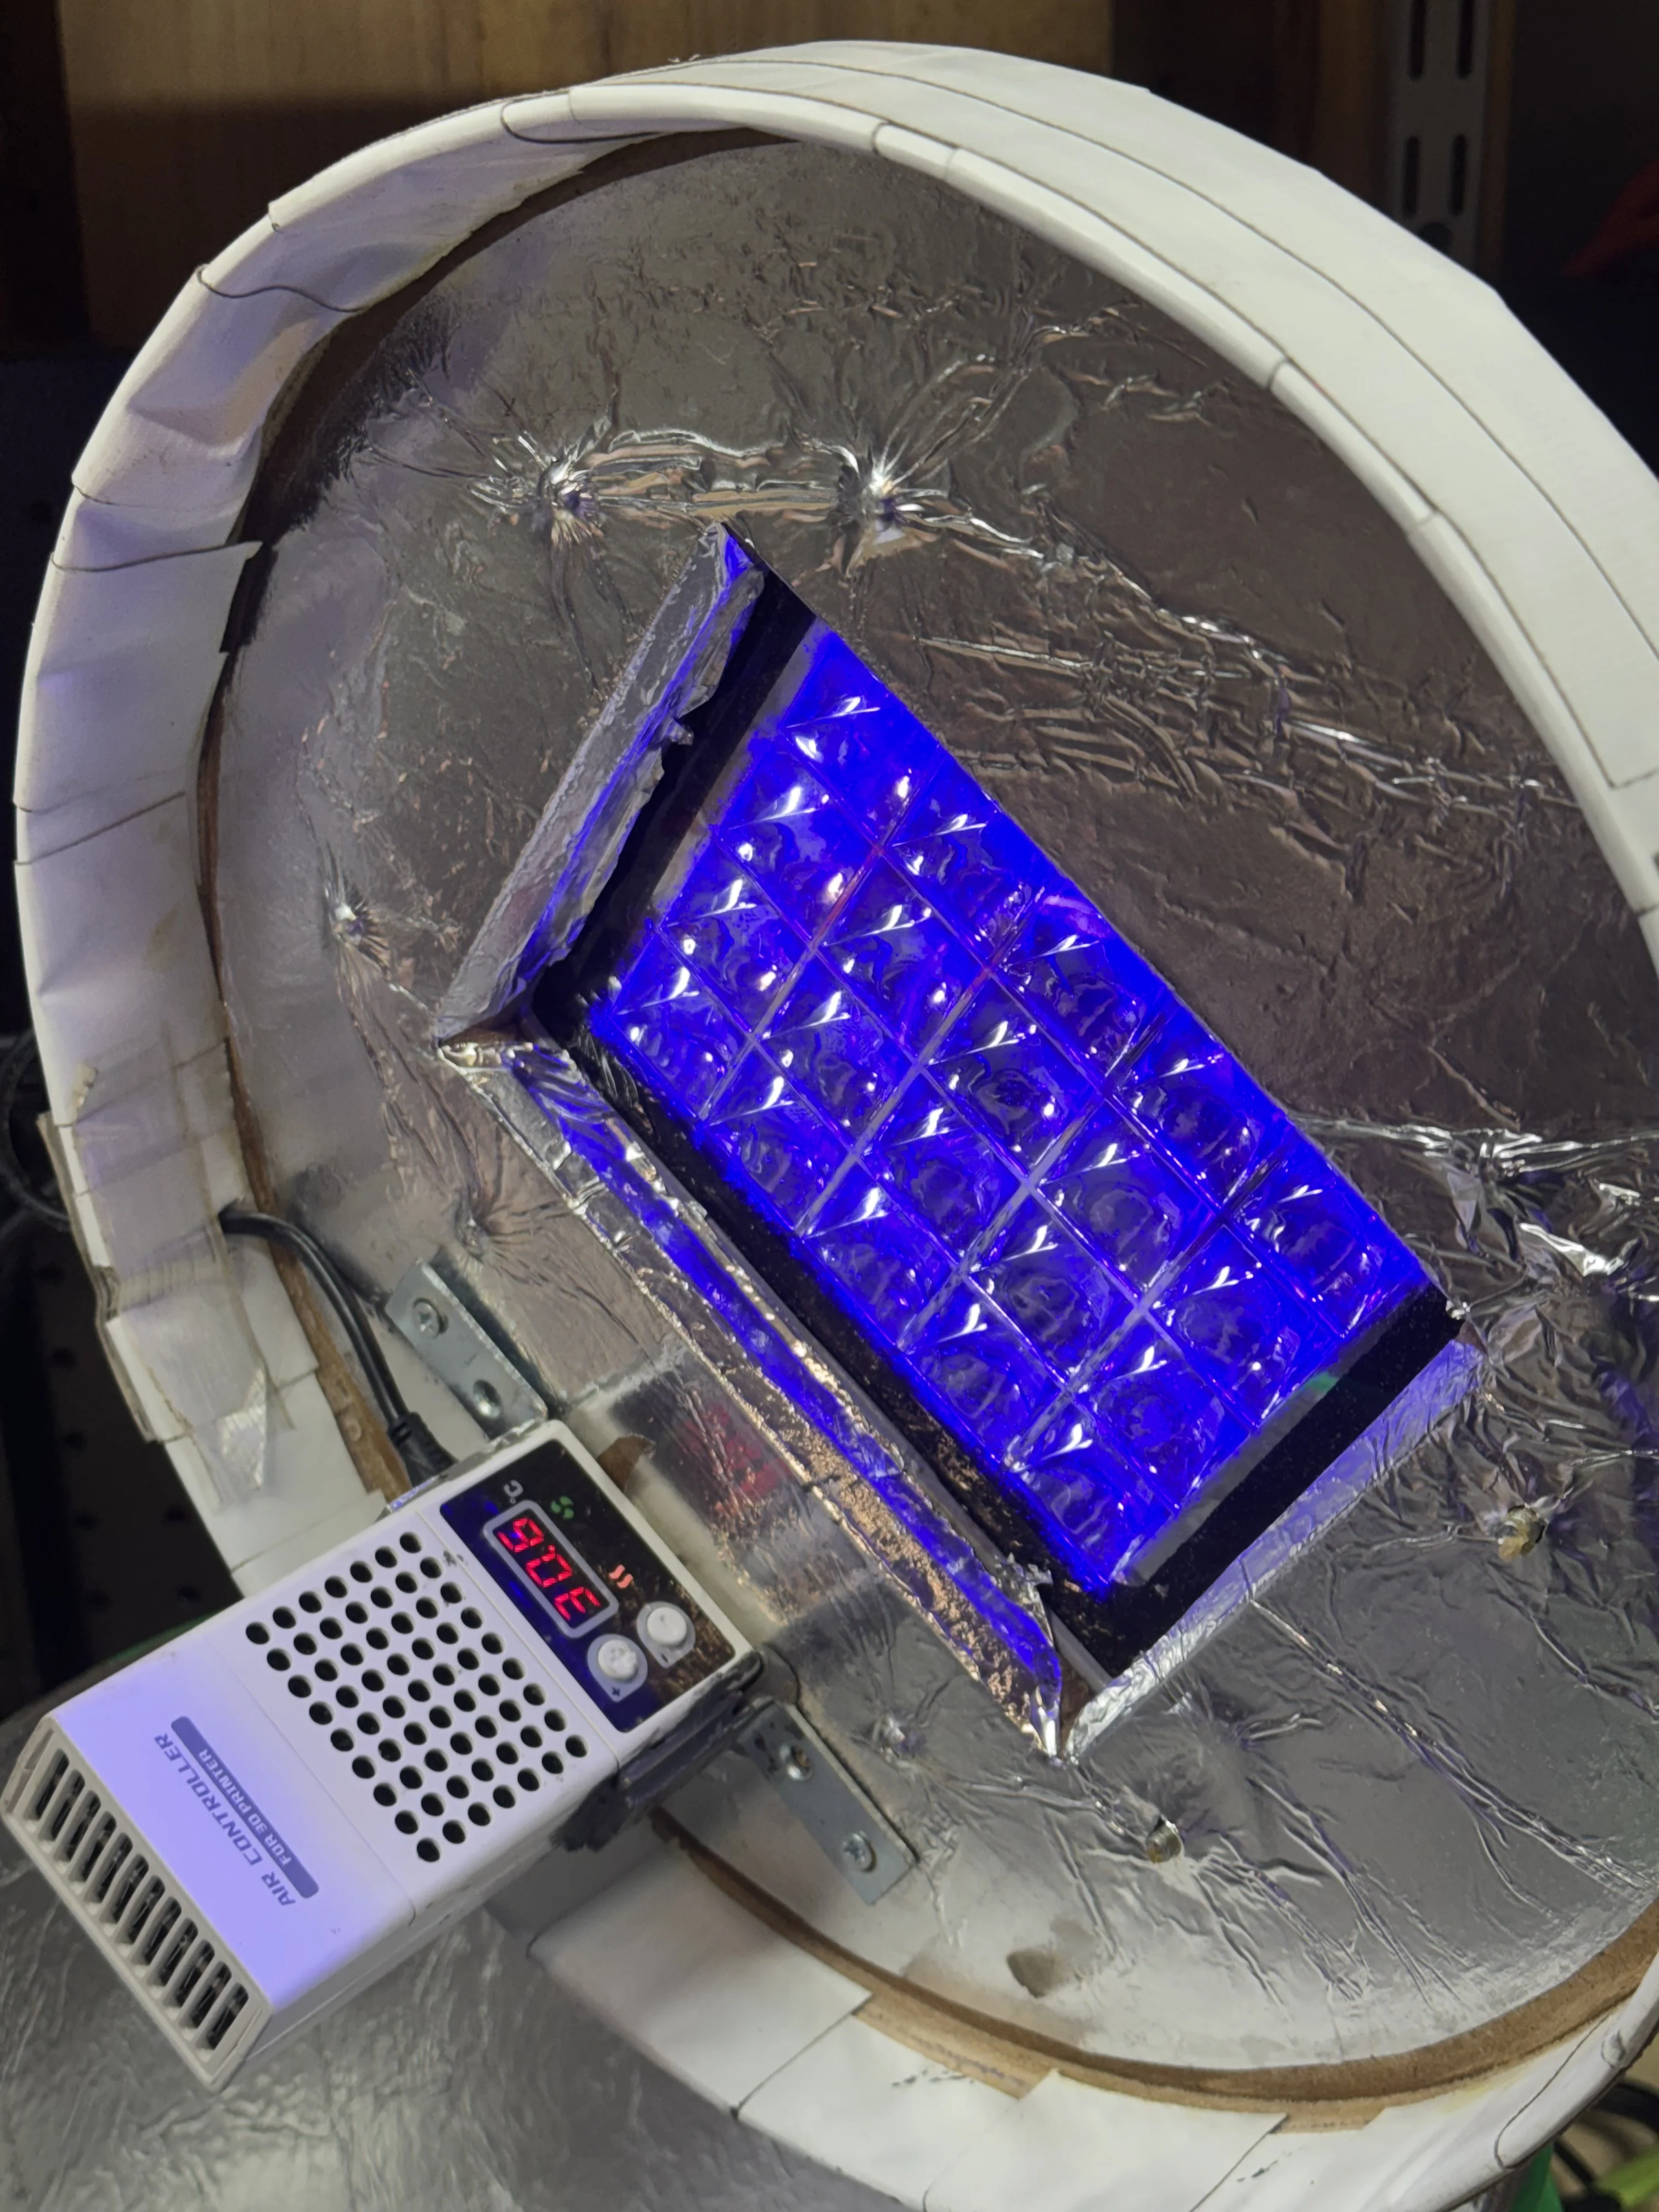
Here are pictures of my post-processing setup. I print lots of smaller parts. It is a 5 gallon bucket, lined in foil with a wooden cover. The cover has a hole for the UV light. I added a resin heater to heat the chamber. I use separate timers for each: light and heater. My usual routine is 5 minutes of light and 60 minutes at 40C. The heater can go to 50 C if desired. I have about $125 in the setup including the timers which I wired myself. This setup meets 95% of my needs for printing, was easy to make and requires little room.
 

Attachments

  • IMG_2497.webp
    IMG_2497.webp
    679.8 KB
  • IMG_2496.webp
    IMG_2496.webp
    544.1 KB
  • IMG_2495.webp
    IMG_2495.webp
    532.6 KB
  • IMG_2494.webp
    IMG_2494.webp
    535.5 KB
  • IMG_2493.webp
    IMG_2493.webp
    722 KB
  • IMG_2492.webp
    IMG_2492.webp
    730 KB
  • IMG_2491.webp
    IMG_2491.webp
    494.1 KB
  • IMG_2487.webp
    IMG_2487.webp
    502.3 KB
  • IMG_2486.webp
    IMG_2486.webp
    853 KB
  • IMG_2488.webp
    IMG_2488.webp
    310.4 KB
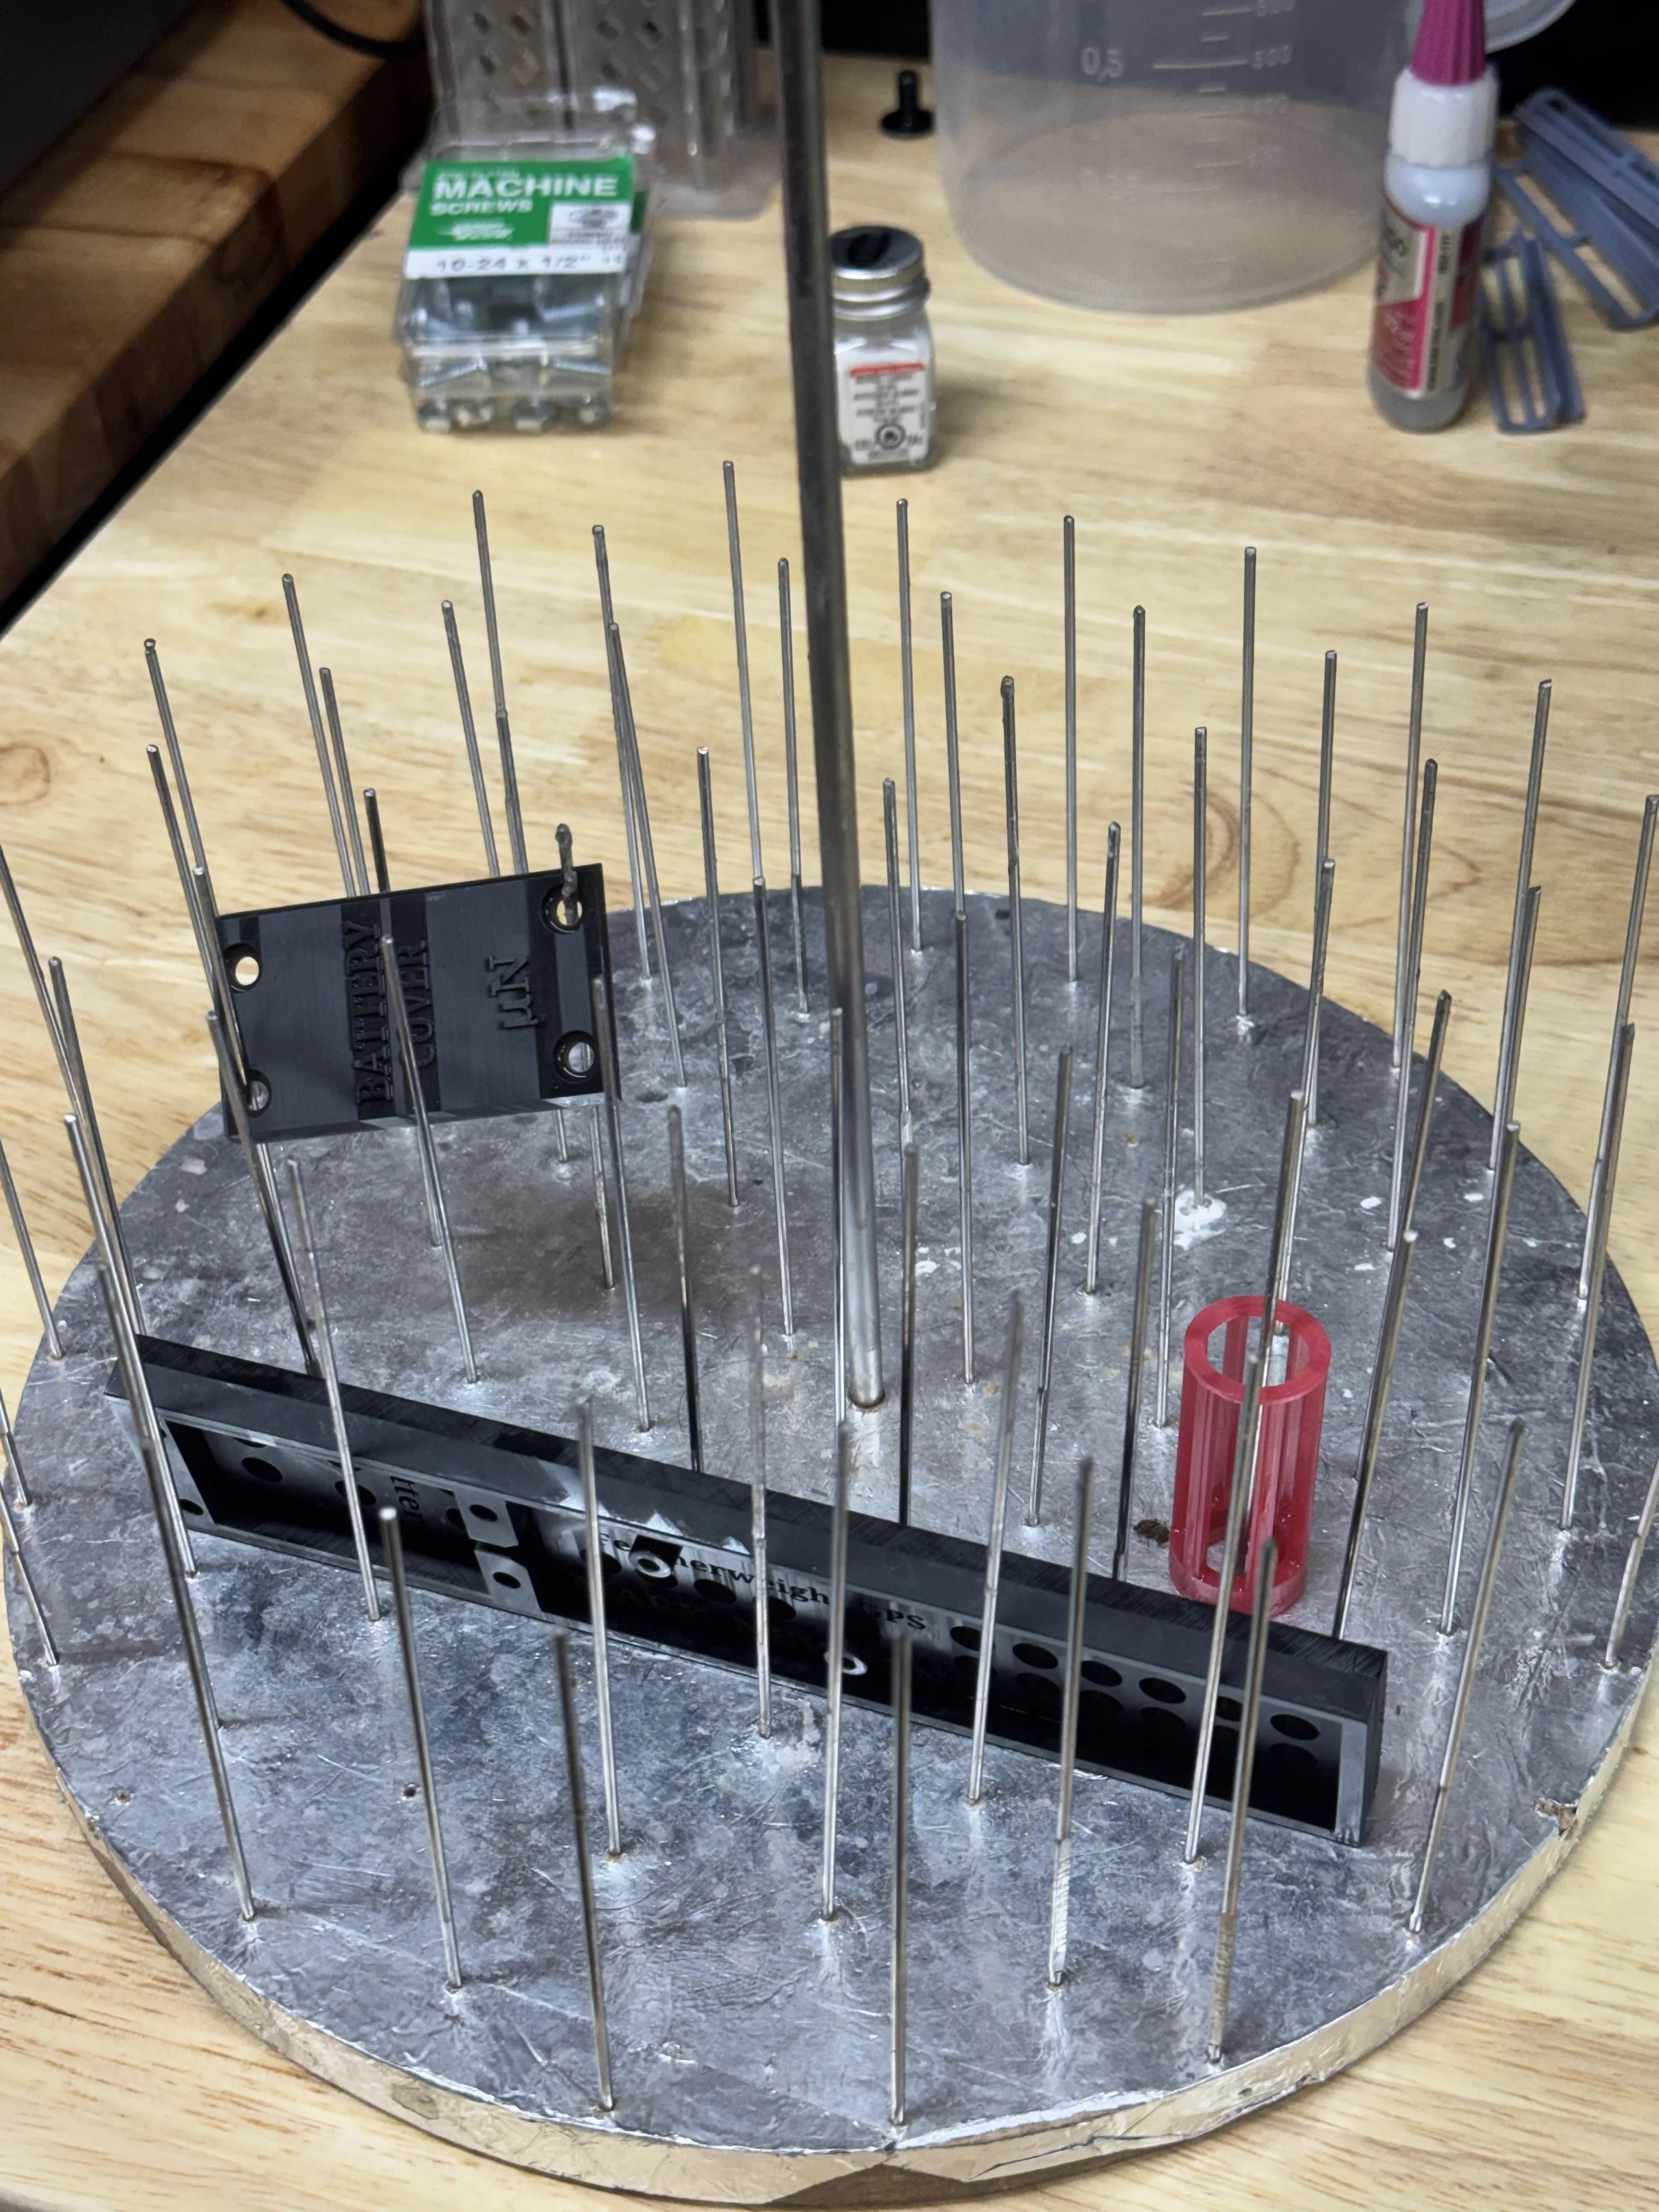
one pic shows the removable bottom, it's a piece of MDF board covered with foil. I drilled 1/16" holes every inch ad tapped pieces of 1/16" stainless steel rods into each hole. Buy the rods at a welding shop (TIG welding rods). Rods can be cut with pliers or side cuts.
 
Back
Top